Well, it certainly has been an eventful summer! Chris and I have been enjoying back-to-back soirées - birthdays, baby showers, bachelor/bachelorette trips, weddings, reunions - it has been nonstop. There is so much to celebrate! Life is good :)
I’m always happy to find a little downtime in between the all the confetti and champagne to work on projects I’ve been itching to tackle. I recently took advantage of a quiet Sunday afternoon to add a chalkboard wall in our kitchen! This was a relatively easy project that transformed the entire wall into a fun and useful surface.
 When we first moved in, Chris and I were surprised to discover that our fridge is not magnetic. This project was the perfect opportunity to add that additional handy functionality to this wall.
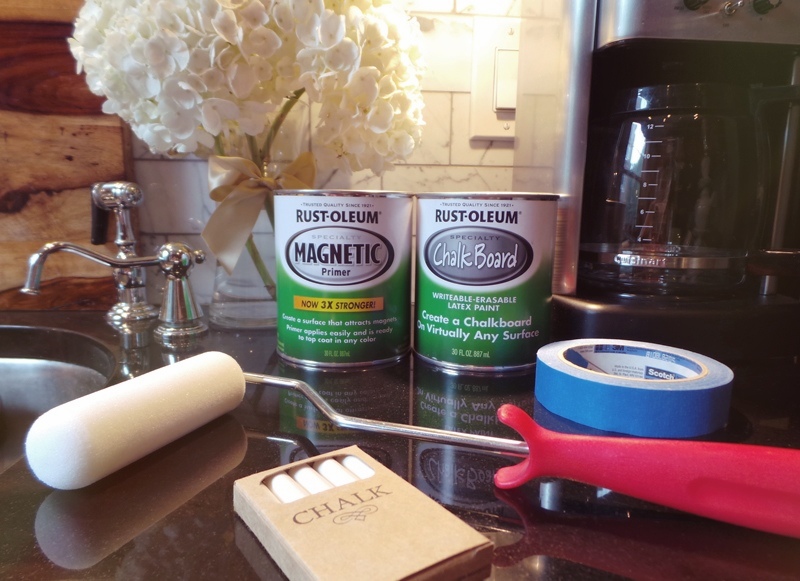
I used three coats of Rust-Oleum's Magnetic Primer, which dries to a deep grey finish. *Tip* When using this stuff, make sure you stir thoroughly before pouring the paint, and keep stirring throughout the painting process. The heavy magnetic "goo" tends to sink, so you need to make sure it stays suspended in order to achieve an even application. I used a foam roller to get a super smooth finish. The smoother the finish, the stronger the magnetic attraction will be. Allow 30 minutes between each coat.
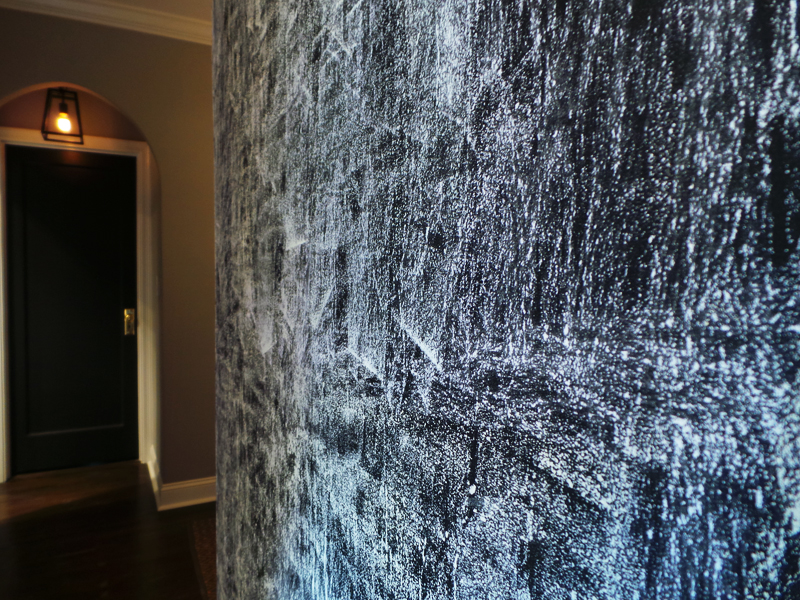
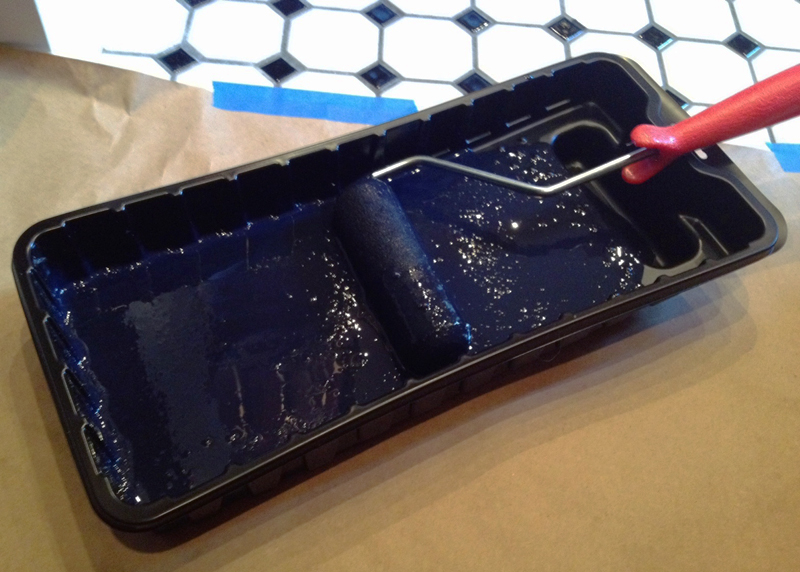 I was pretty shocked when I opened the chalkboard paint. It looked blue! I triple-checked the label to make sure I had purchased a "black" formula, and even upon confirmation, I felt uneasy. It just looked very blue...
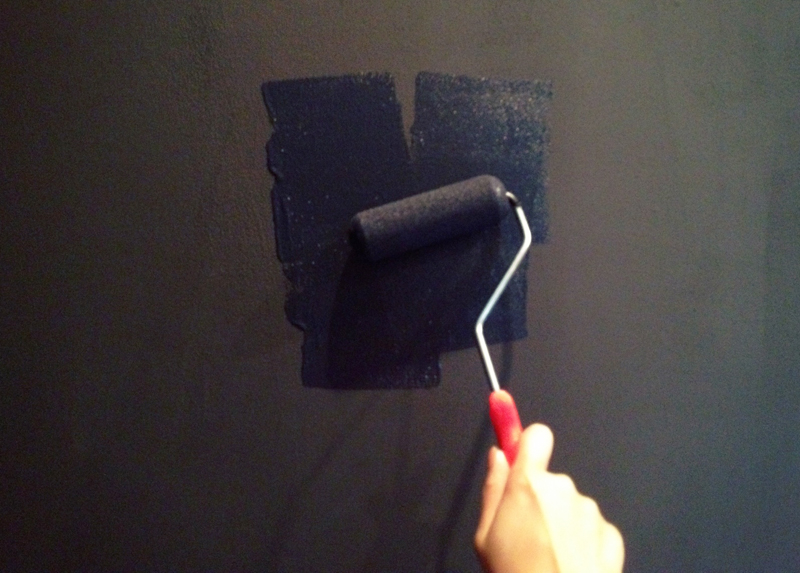 I got even more nervous when the paint went on the wall. It was definitely blue. I threw down the roller and rushed to Google "Rust-Oleum Chalkboard Paint + blue". Not a single person on the internet mentioned their black chalkboard paint looking blue! But then I saw that the paint only came in "green" or "black" - blue wasn't even an option. I decided to take a deep breath and keep going. I applied two layers of paint, allowing 4 hours between each coat.
 Thankfully, the paint dried to a satin black finish. Whew!! :)
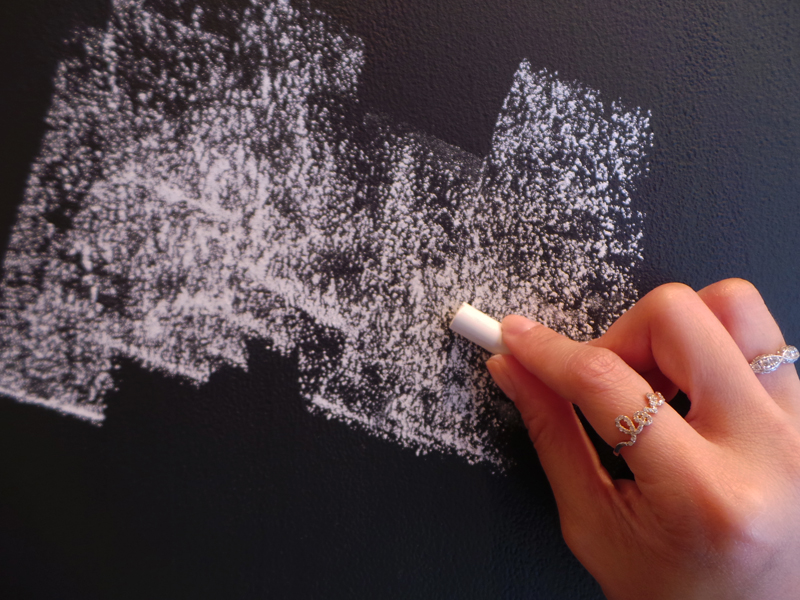 After allowing the paint to cure for three days, it was time to season the wall. It's important to season a chalkboard before writing anything on it because the surface is very porous. Seasoning easily prevents ghosting, which is when chalk lines are "burned" into the board and never fully erase.
Seasoning is easy - just turn a piece of chalk on its side and shade in the entire surface. Rub the chalk top to bottom, left to right in order to get into all of the pores.
 Once the entire surface is covered, simply erase, and you're all done!
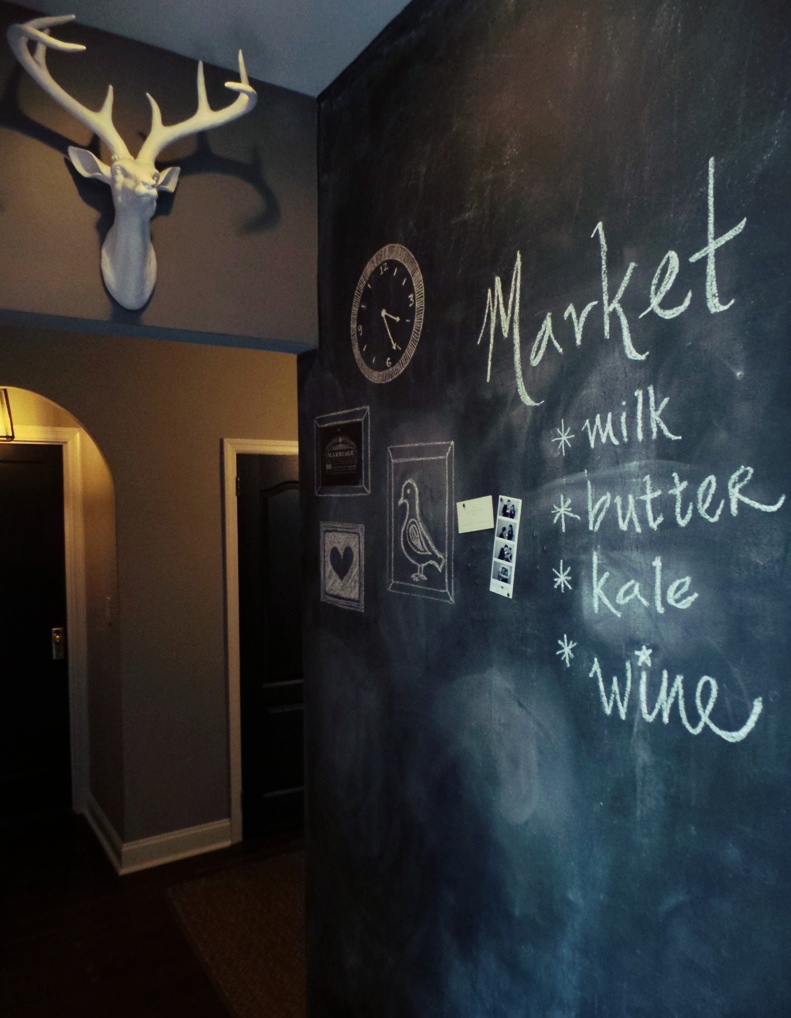 Now the fun can start! I was never good at writing neatly on the board in school, so it's definitely going to take a while before I get a hang of it and start creating any real chalkboard art.
But that's the beauty of chalkboards - If you mess up, just erase and start over! Practice makes perfect :)
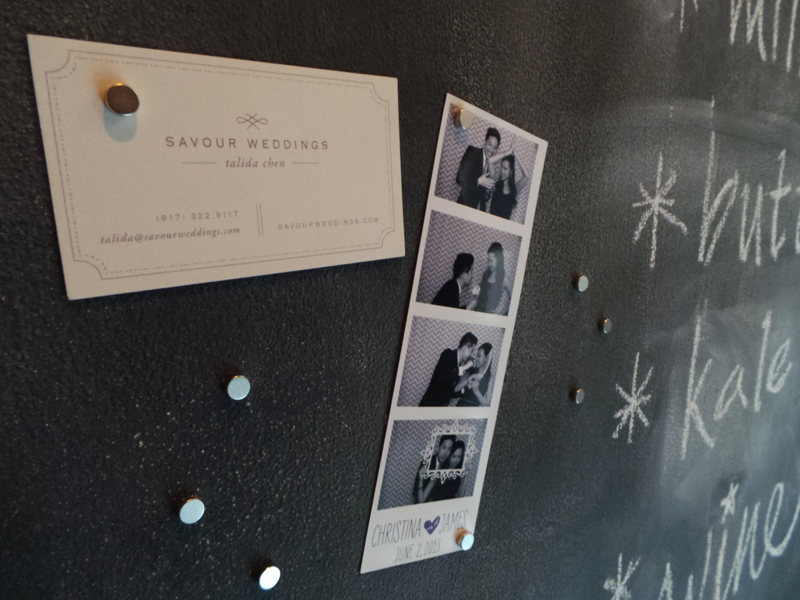 The magnet wall lets us share sweet mementos and reminders of upcoming events!
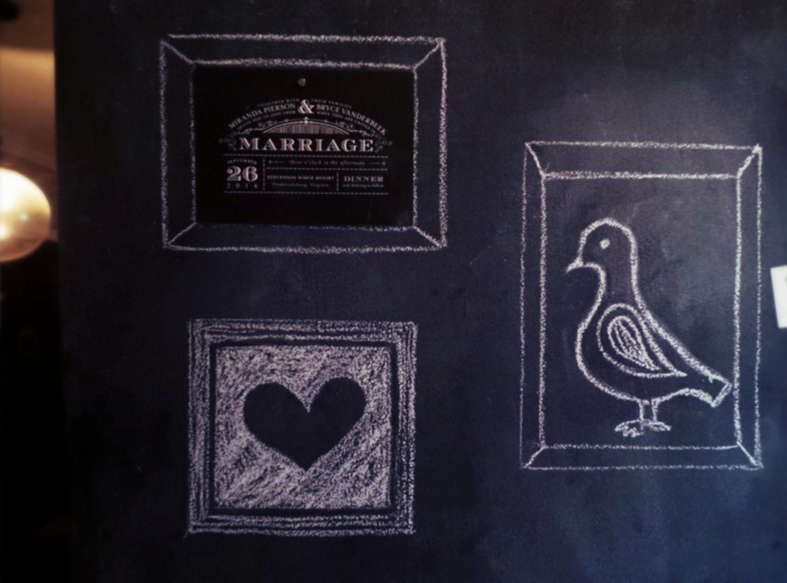 I thought it would be fun to start a gallery wall as a neat way to display all our random notes and doodles.
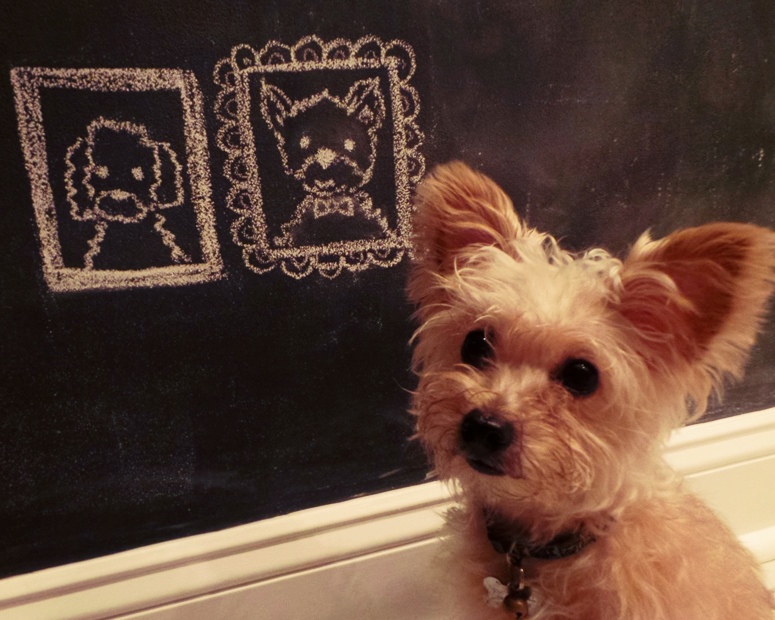 Wonka has his own little gallery! His first two installments? Portraits of his Mini-Poodle mama and Yorkie daddy :0)