I’ve joked in the past about having a black thumb - or no thumbs at all - when it comes to plants and gardening. I had just about given up on all of it, but then Chris and I moved into our new neighborhood in Kew Gardens. We were suddenly surrounded by charming gardens and a park full of towering trees, and it sparked an intense desire to bring some of nature's beauty into our own home.
I decided to give myself another chance. After all, I grew up watching my dad work magic in his garden. Surely there’s got to be a hint of green thumb-ness swirling through my double helix somewhere, right?
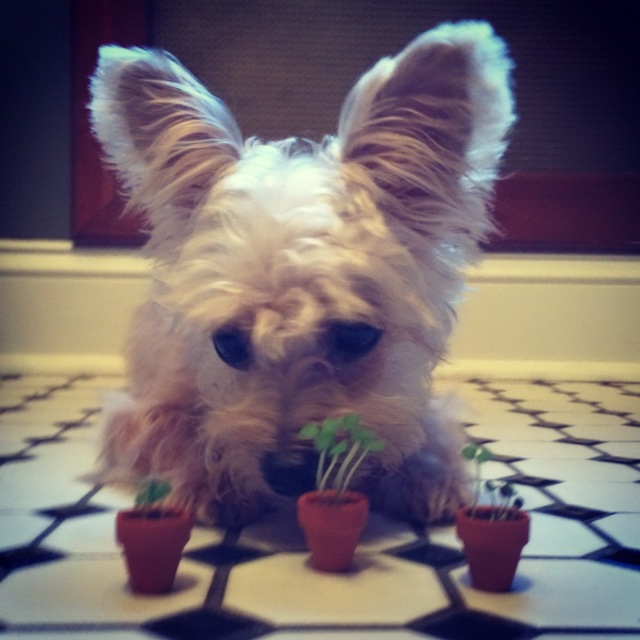
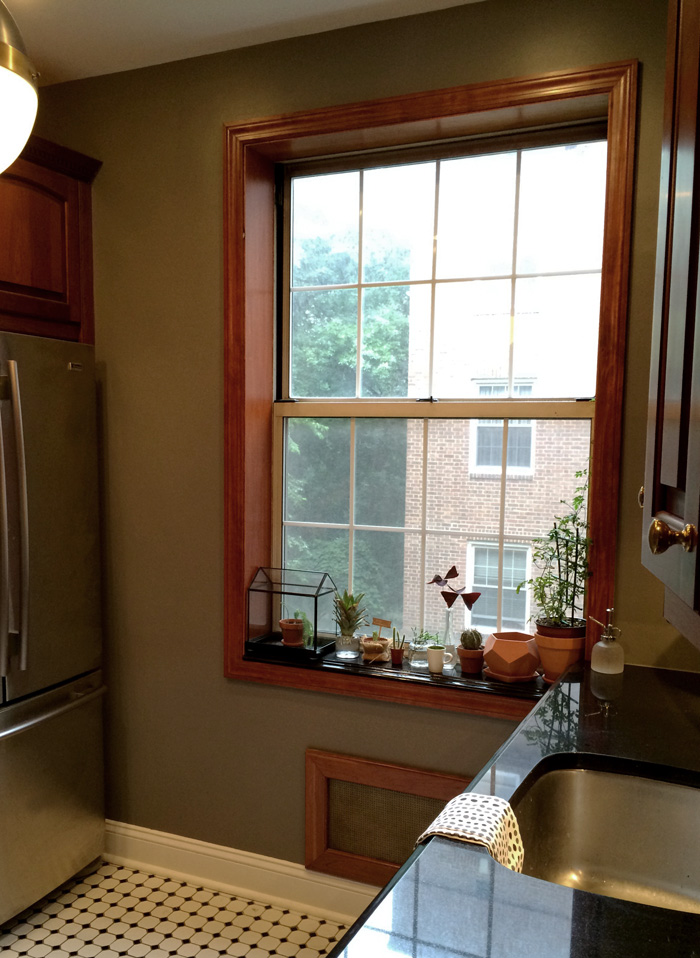 Starting with a tiny collection on our sunny kitchen windowsill, I began researching and learning about every single plant under my care. With a steady dose of patience and diligence, my collection started to thrive and expand! The windowsill soon became overrun and crowded, and I ran out of space for new projects.

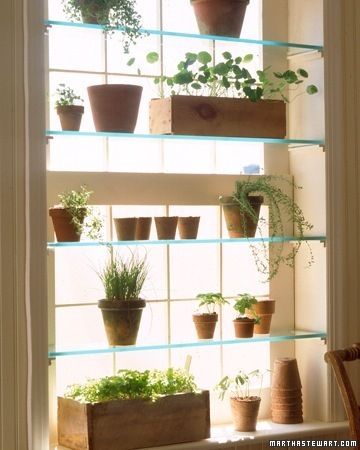
While searching for space-saving solutions, I came across these amazing window gardens on Pinterest. This was exactly what I needed for my growing family of projects! I was so inspired and immediately began to brainstorm aesthetically pleasing ways to securely mount glass onto a window frame.
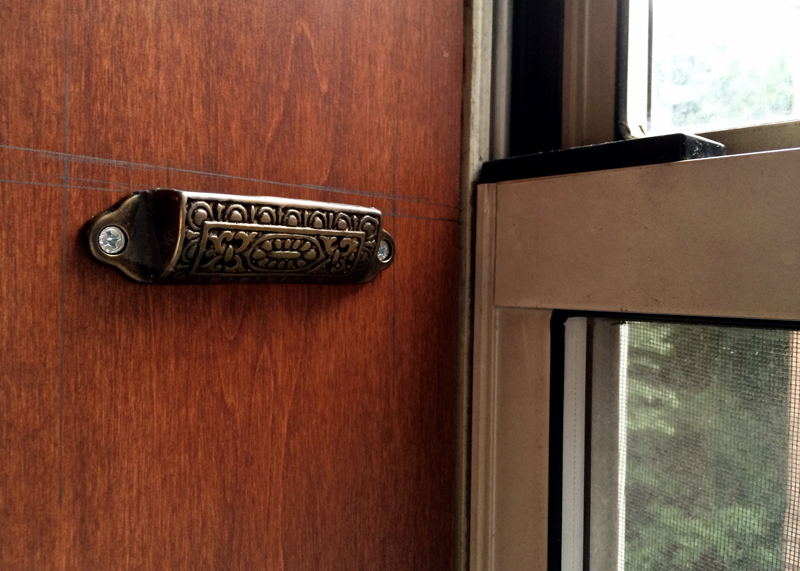
 Surprisingly, these antique drawer pulls turned out to be my final answer. Aren't they gorg? The egg-and-dart detailing echoes the Old World vibe going on in our kitchen, and that brassy patina looks absolutely delicious against the cherry wood window frame. What can I say, good hardware gets me hot and bothered.
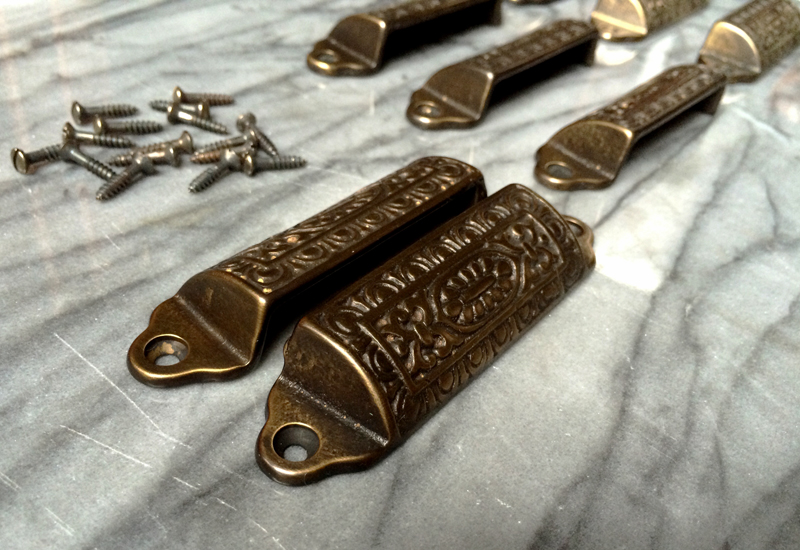 Wait. Drawer pulls... for shelving? The saleslady at the store looked at me like I was all sorts of crazy, so let me explain: These bin pulls have a one-inch overhang and finish at 90 degree angles, making them perfect little brackets for glass shelving. It's a odd concept, but stay with me on this one.
 I had a local glass supplier custom cut two panes to fit the dimensions of the window frame. Glass can get pretty heavy, so I went with 3/4" panes in order to keep the shelving as light as possible. This thickness is sturdy enough to support the weight of a few plants without placing excessive weight on the brackets.
 I decided to install the shelves along the upper window sash. This placement allows us to continue using the window as needed. Good ventilation is very important, especially in the kitchen.
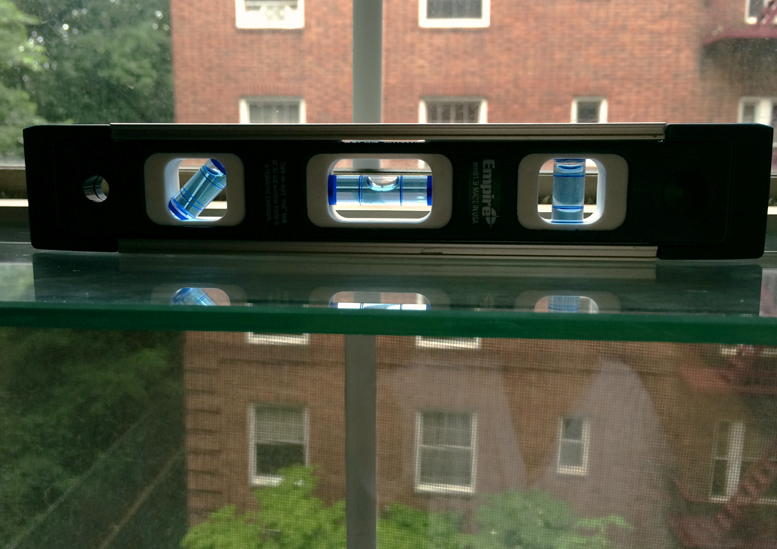
 My level became my best friend during this project! The last thing I want is lopsided shelving. The screws that came with the pulls were kind of flimsy, so I opted for durable construction screws. They can easily be painted to match the brass finish later on.
 I added a few squares of cork inside the "cup" prior to screwing on the upper pull. This creates a snug bumper and will discourage the glass from sliding around.
 I finished off the bracket by installing the top pull, leaving a 3/4" slot to accommodate the shelf.
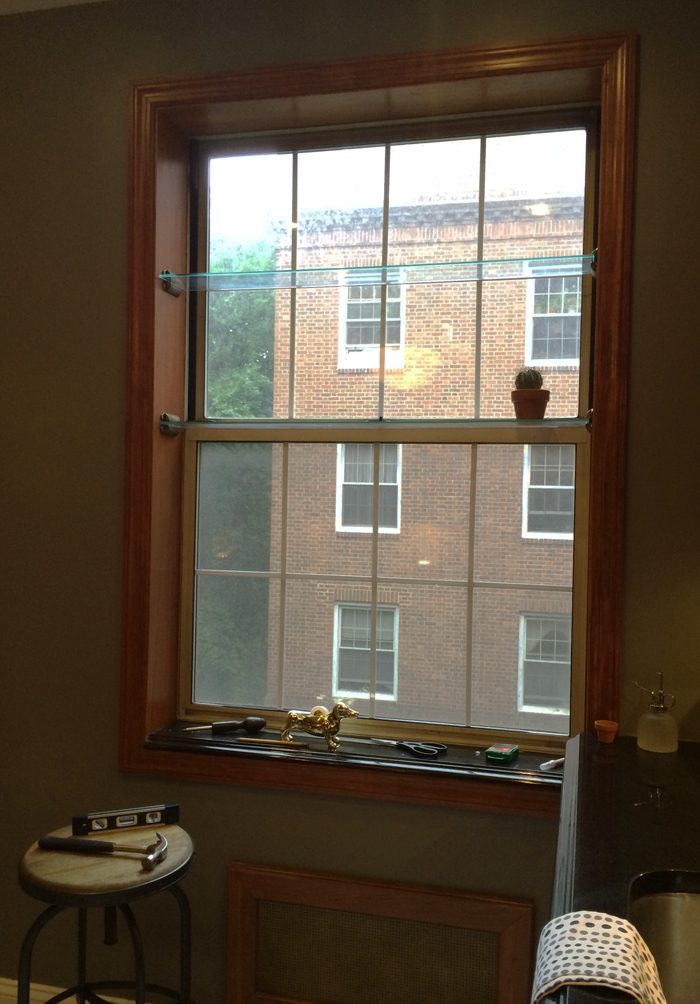
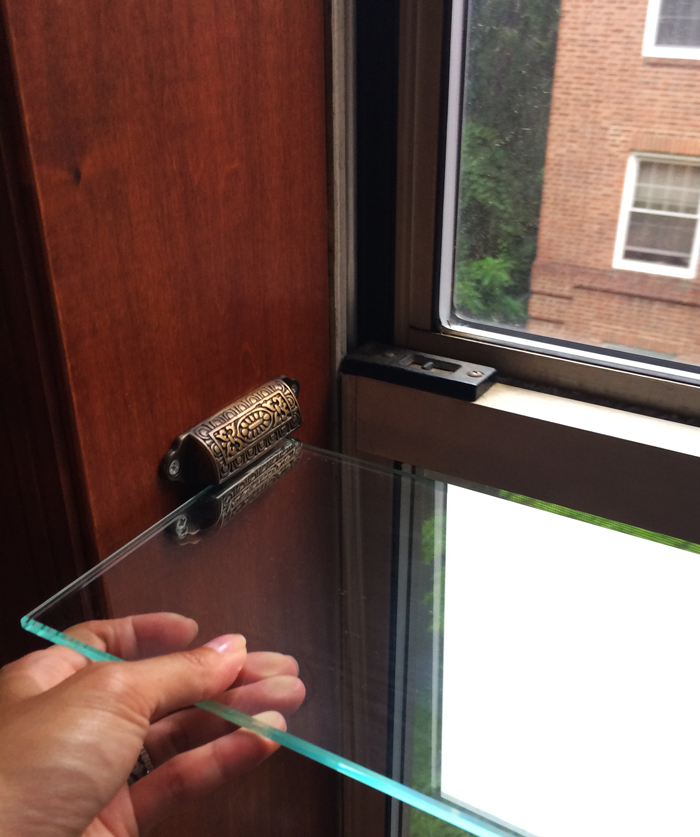 Once the brackets were installed, I simply slid the glass into place. Having a top bracket secures the shelf and prevents it from ever flipping over. The shelves are easily removable for cleaning or storage.
 Wahoo! 1st level complete!
 Double, triple, quadruple-checking my work as I go. The antique, handmade pulls each had slight variations, forcing me to adjust my measurements throughout the process.
I may have spent more time measuring and re-measuring than on actual physical labor.
 The extra work was worth it in the end. I had two new, perfectly level shelves, ready to be filled with happy plants!
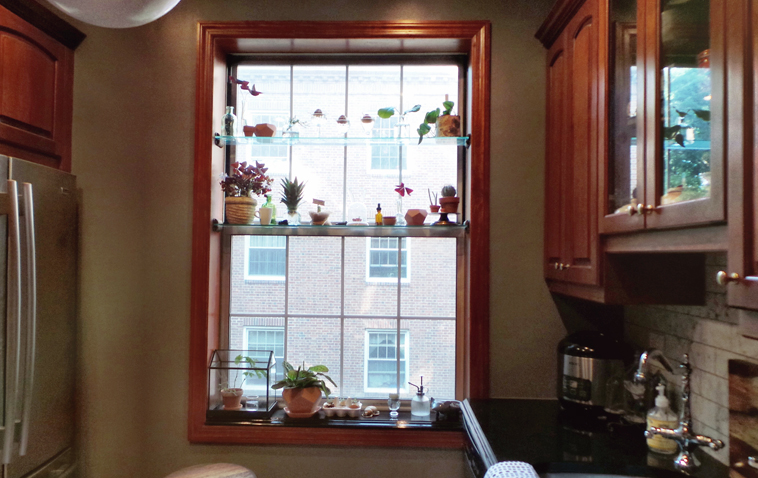
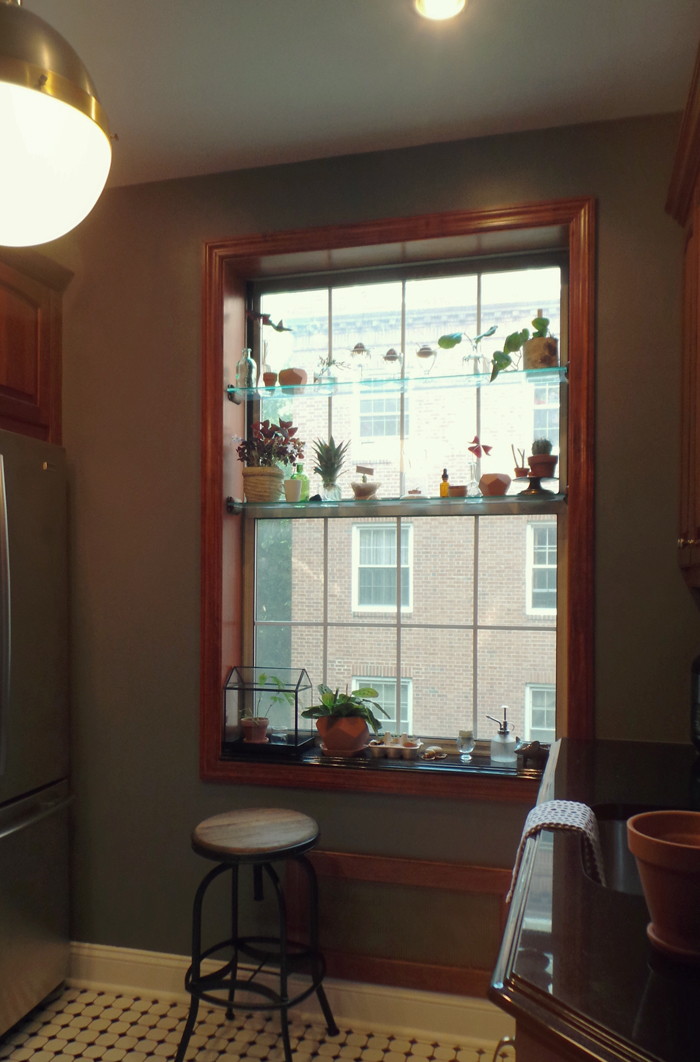 Look how delightful this space has become! Nothing breathes life into a room quite the way a plant does.
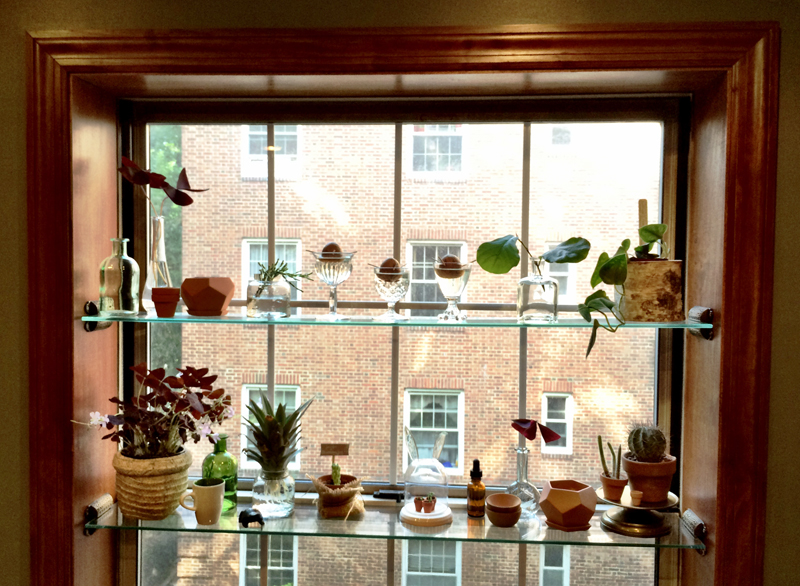
This window has become a laboratory of sorts. Each level is packed with ongoing experiments. I love the way the glass shelves allow sunlight to shine through, keeping our kitchen bright and cheerful.
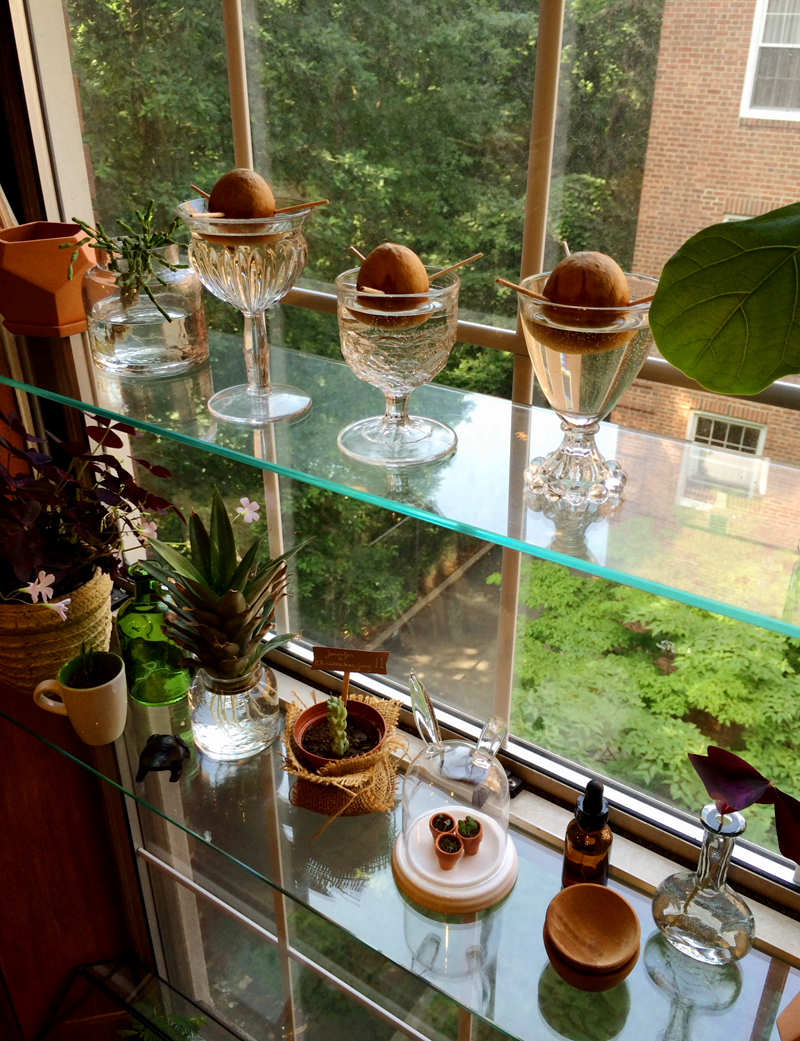
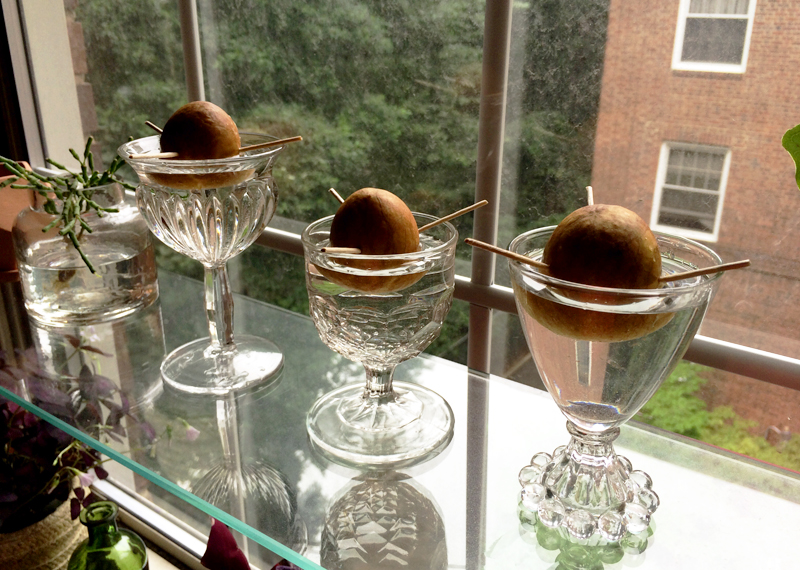 The top shelf is dedicated to long-term projects. I am currently soaking three avocado seeds in the hopes of starting some avocado trees. They are beginning to split, and tiny roots should start emerging any day now.
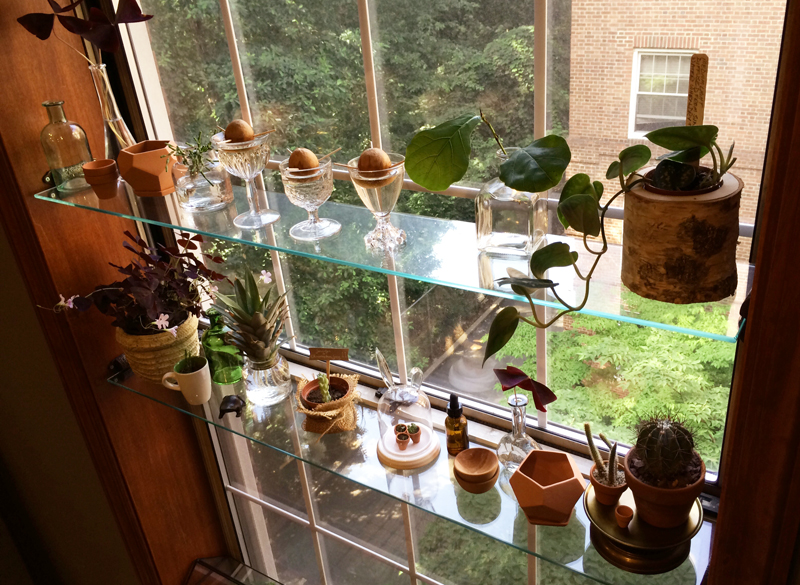
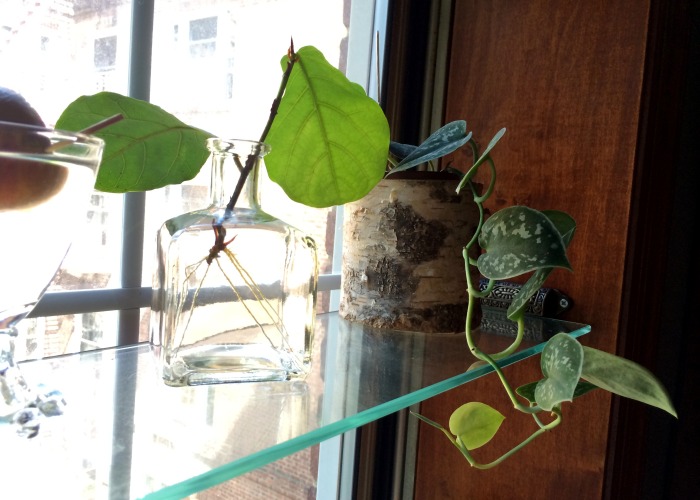 I accidentally snapped off a section of my fiddle leaf fig tree a few weeks back. Rather than toss it out, I stuck it on the top shelf to propagate. It is already growing roots!
Chris has also taken an interest in the window garden and is working on raising his own philodendron. I'm not allowed to touch it :)
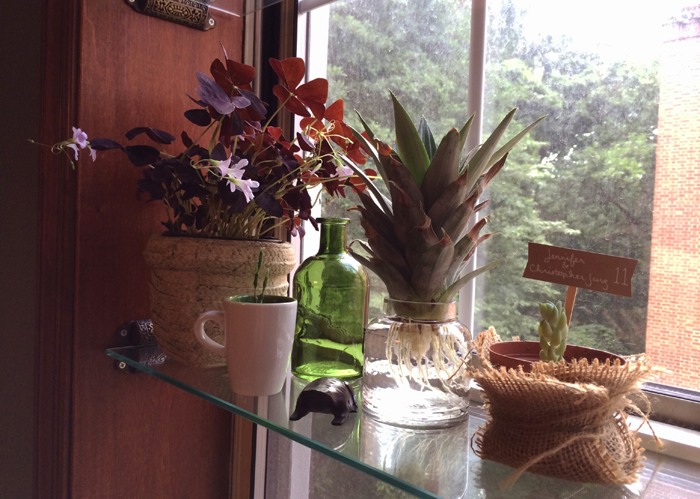

The middle shelf is dedicated to plants that are already established and simply require regular maintenance and care. They are within easy reach, and especially pleasing to have in my direct line of sight. It is super convenient to have the kitchen sink just a few feet away - these plants will never go unwatered!
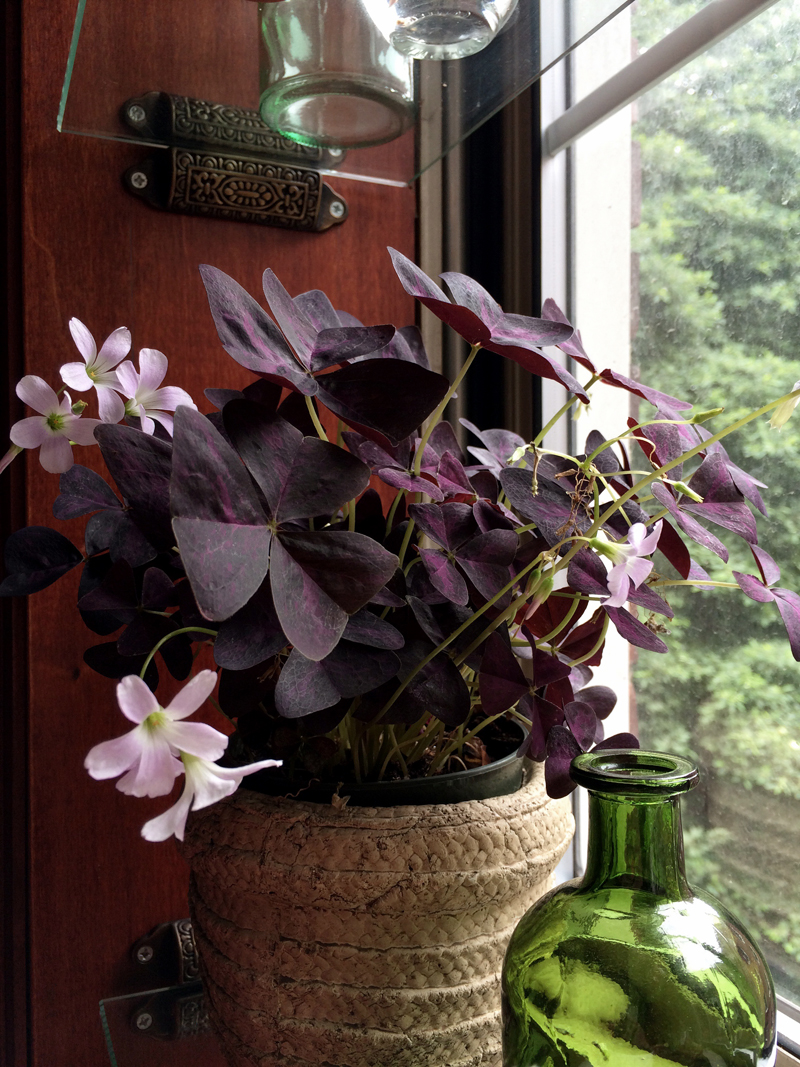 This is Oxalis Triangularis, a pretty cousin of the shamrock. Its leaves fold in each evening, then open up again in the morning sunlight. They look like a bunch of butterflies :)
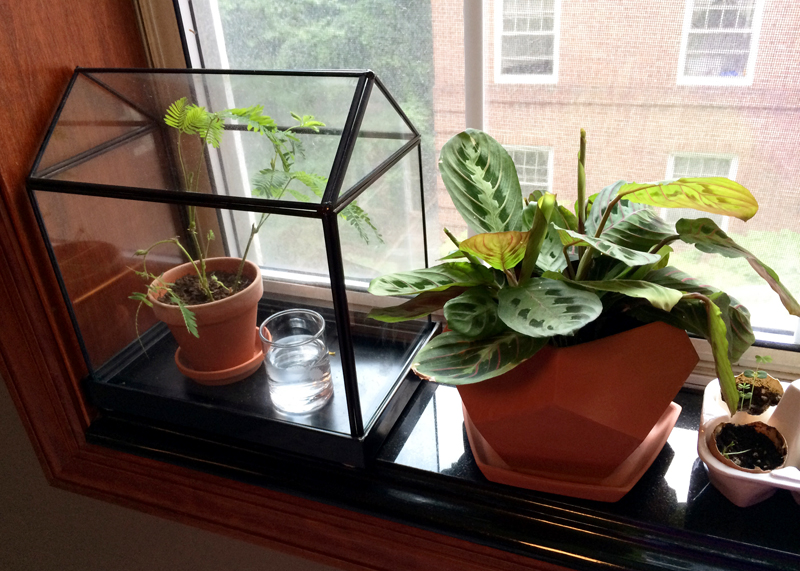 The bottom level is for new and high-maintenance projects. Here, we have what I call the ICU. It's where my precarious plants go to recover or fail. The ICU currently houses a few Mimosa Pudica cuttings that I brought home from the office to propagate. It was touch-and-go for a while, but they are doing much better now!
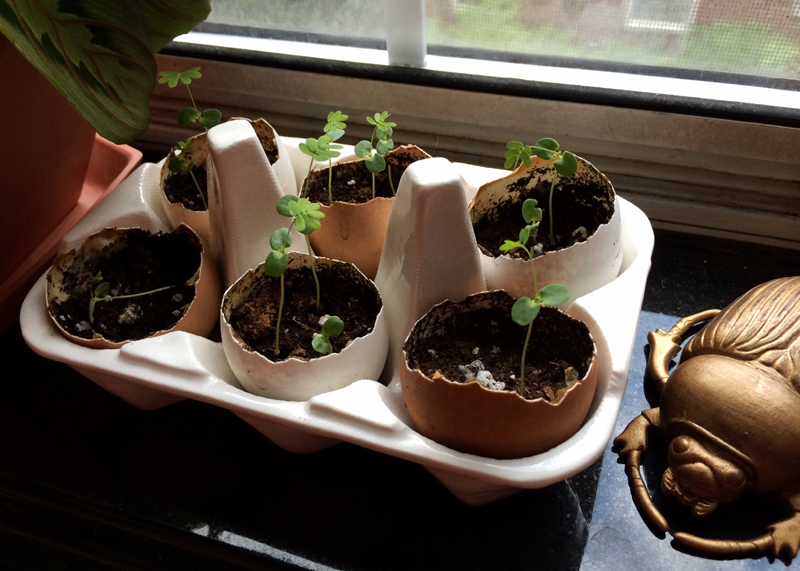 Growing a few additional Mimosas. As you can see, many of my plants are still in the beginning stages of development. I love coming home each day and eagerly checking on their progress.
 I am so glad I decided to give gardening another chance. It has been such a fun educational experience, and I am also learning a lot about patience, persistence, and resilience.
I may be giving you guys a shout for help in the near future, and will definitely keep you updated on exciting developments.
 More later! <3