


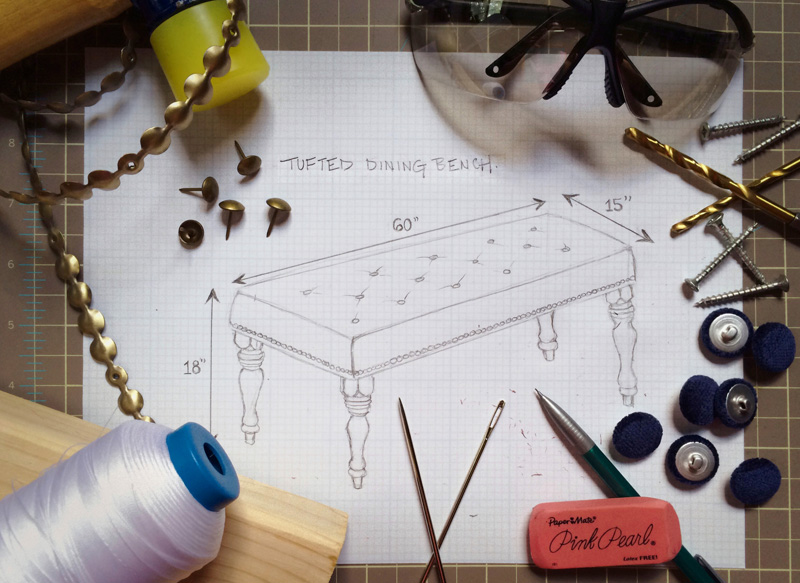
Tuft Love
The fact that we are halfway through October is majorly blowing my mind. Between juggling long workdays, joining a new church community (hooray!), training to become a certified yoga instructor, working freelance projects, and planning a baby shower (for TWINS!!)... I've hardly slept this past month. Thank goodness for coffee, vitamins, and juicing. And wine.
One thing I've learned is that no matter how insanely packed your life becomes, you must always make time for the people and things you love. That's what gets me out of bed and keeps me going every day.
Chris and I frequently host gatherings around this time of year, which is one of my favorite ways to enjoy our place. While we have plenty of room to accommodate guests in our living space, I recently found myself searching for additional seating solutions in our dining area. Rather than expanding the existing set of chairs, I thought it would be fun to shake things up by adding a dining bench into the mix. And while we're at it, why not try making it myself? After all, there is always time for a little DIY in my life :)
 I kicked this project off by hitting up a few fantastic resources for all the necessary materials. The clerk at Mood asked what I had in mind for the 2.5 yards of delicious navy velvet he was cutting for me. When I showed him my dining bench plans, he pointed me to a wonderful upholstery supply store located nearby. I quickly made my way down to the West Village.
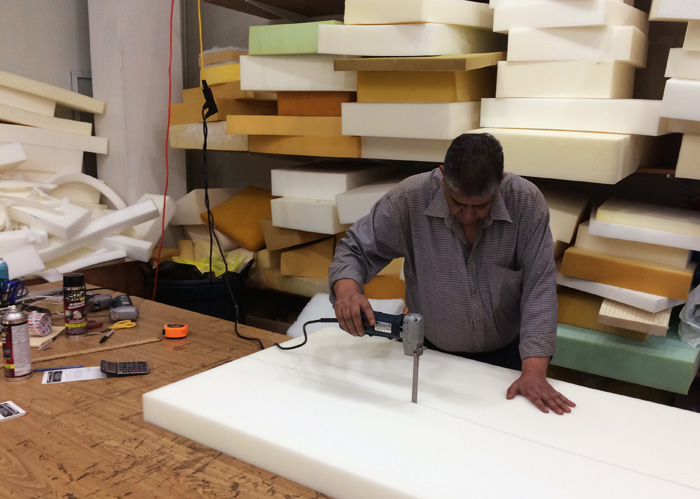 Economy Foam & Futons turned out to be a one-stop destination for all my upholstery needs! Everyone was super helpful - I waltzed out with a custom-cut foam pad and a roll of dracon batting tucked under my arm in less than 10 minutes.
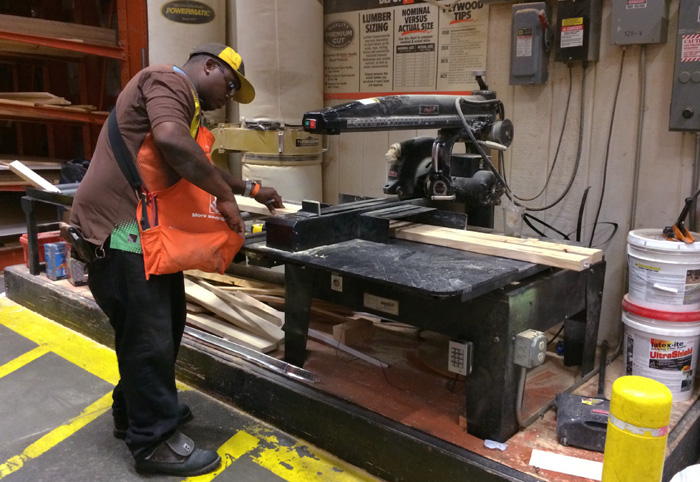 Next stop, Home Depot! The HD right down the street from us is like my second home. I'm down there all the time, hanging out and causing trouble. The friendly staff is always happy to cut lumber down to the specific measurements I need for various projects. How handy is that?
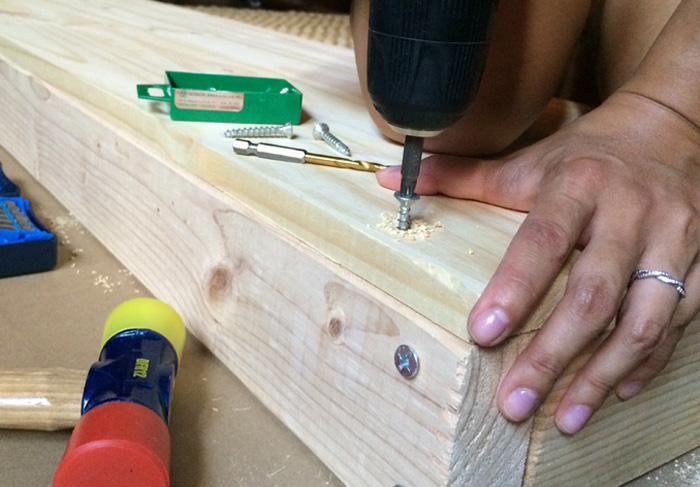
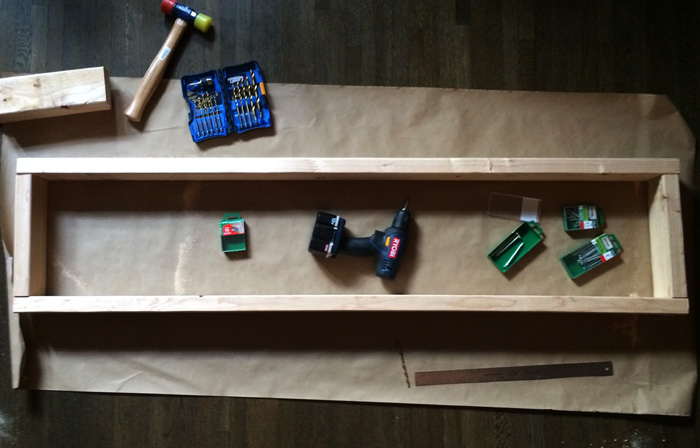 Once I had all my materials wrangled together, it was time to dive right in and build out a bench frame. *TIP* No need for exact precision here, but it is important to make sure all the beams are securely fastened together. Don't forget to wear goggles while drilling. Safety first, people!
 I then attached a 60"x15" board on top to complete the frame.
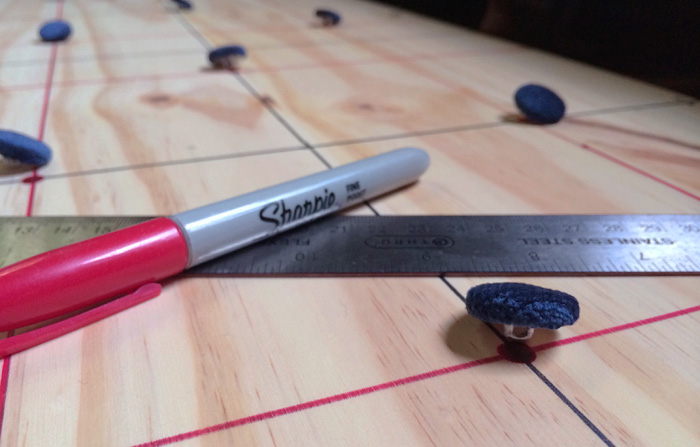 Once the top was secured, I measured out placements for the tufting buttons. Since I stink horrendously at math, this took a few extra tries to get everything just right :P
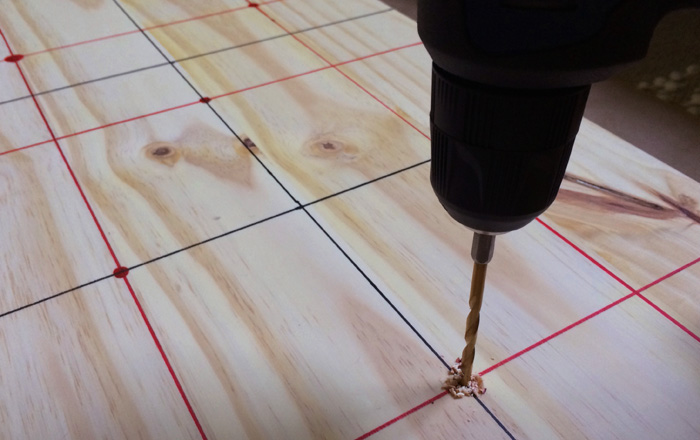 After marking out 14 buttonhole placements, I drilled through the board at each designated cross hair.
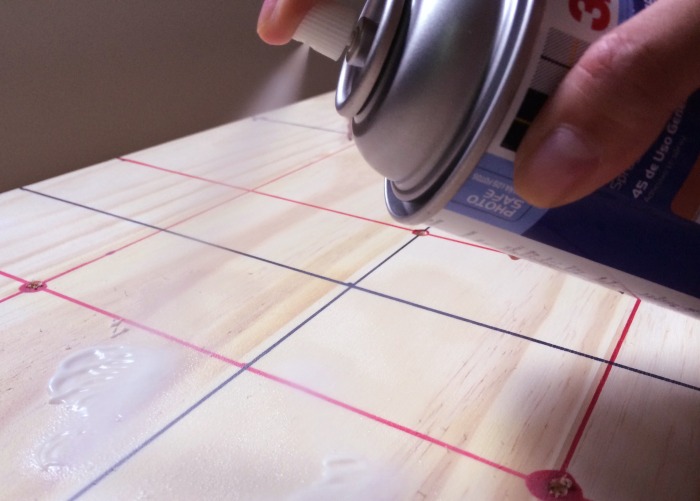 Next, I sprayed the board with an even layer of adhesive, and laid the foam cushion down, pressing gently to create a smooth bond with the base.
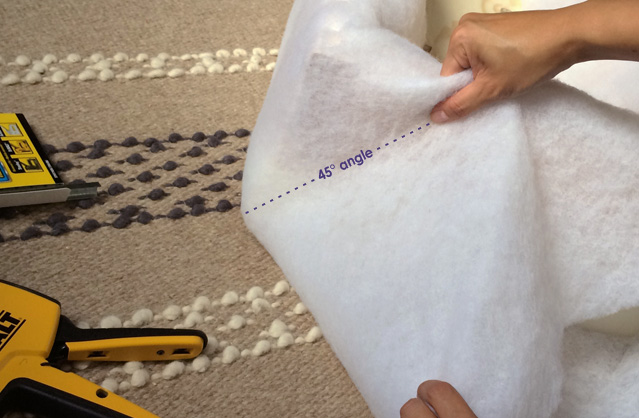 Time to begin upholstering! I started by covering the foam and frame with a layer of bonded dracon. *TIP* It's important to keep pulling the batting nice and tight as you staple it down. This establishes a smooth foundation for your top fabric. In order to achieve clean, tailored corners, pull the dracon up to form a 45-degree angle with the edge of the frame.
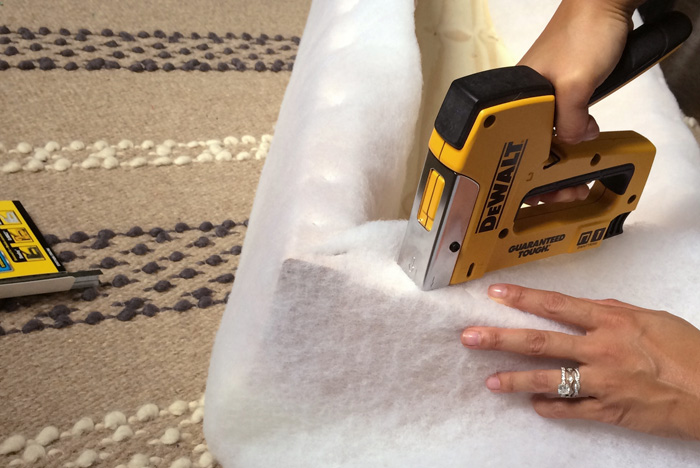 Staple down to the frame...
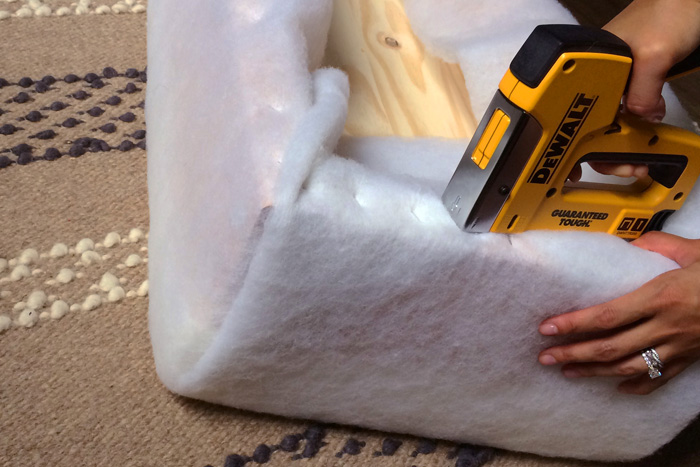 Pull the end straight up, and staple down over the side fold. Trim off all excess material.
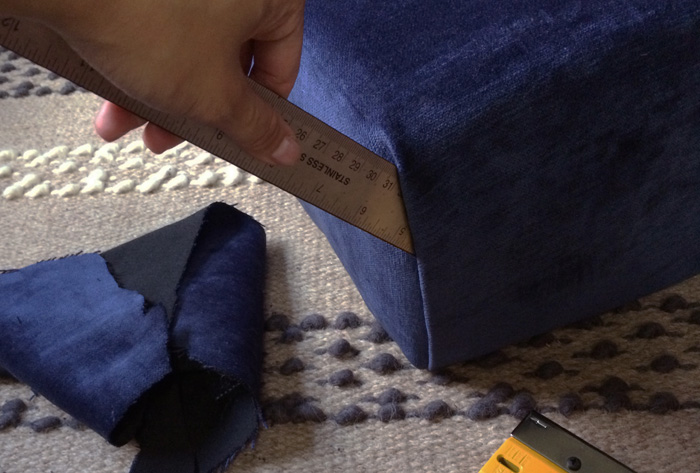 Once the dracon was in place, I repeated the same steps with my velvet fabric, leaving a little more give in this layer for tufting. Here's a nice little trick I learned years ago while making beds in nursing school: Run a straight edge along the crease to create a crisp, clean hospital corner!
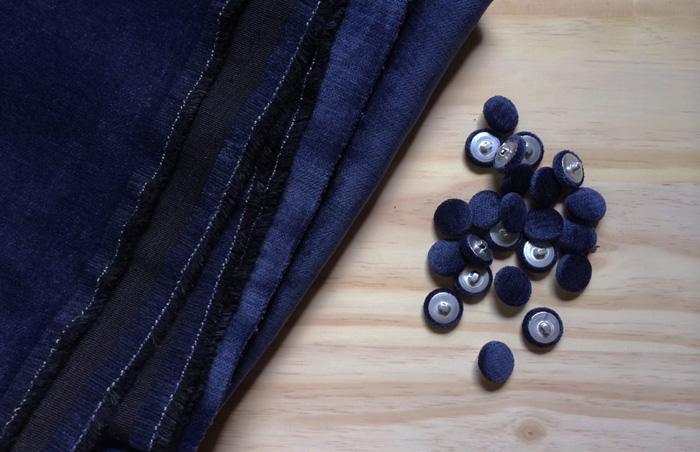
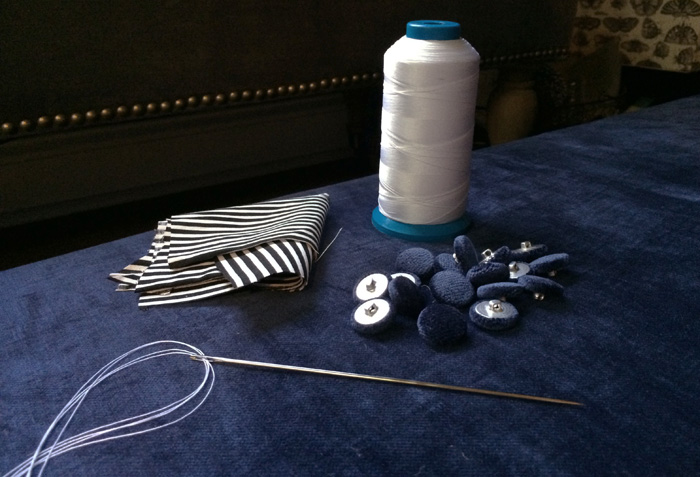 Now the fun tufting part begins! I used a button pressing kit to create matching velvet-covered buttons. These were a cinch to make, and I had a pile of beautiful buttons in under half an hour! #productivelunchbreak
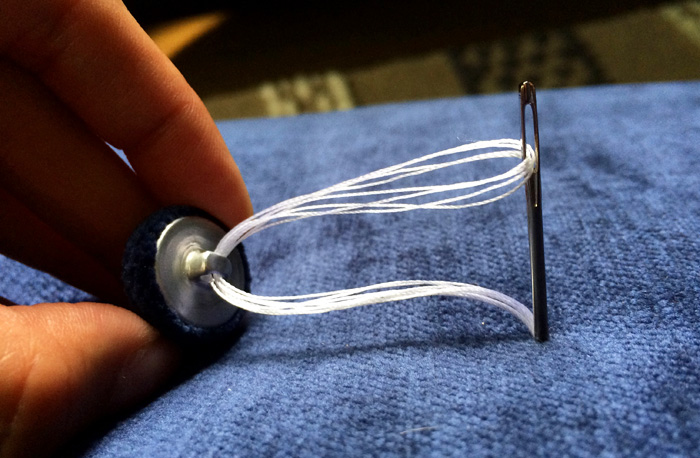 To create a tuft: Thread your needle with about three arms' length of extra-durable nylon upholstery thread, folded into thirds. Starting from the underside of the bench, push the needle straight up and through until it comes out on top of the cushion. Loop the needle/thread through a button, then push the needle back into the foam to the underside of the bench.
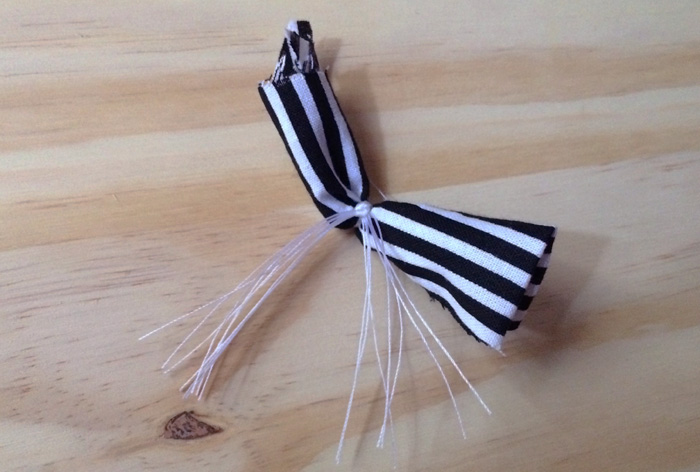 Once your needle makes it back to the underside (sometimes it takes a little poking around), grab both ends of the thread and pull until you get a nice tuft in your cushion. When you achieve the desired tuft depth, tie a secure knot around a wad of fabric. This bolts the thread into place while providing a little buffer for the thread tension. Professional upholsterers utilize muslin, I used some extra cotton scraps I had laying around.
*TIP* Grab a helper to push the button down and hold the tuft in place while you pull and tie the strings on the underside. This ensures smooth, efficient, and even tufting. Shout out to my favorite assistant, Chris, for lending a hand with this step. He's a seasoned pro at pushing my buttons. <3
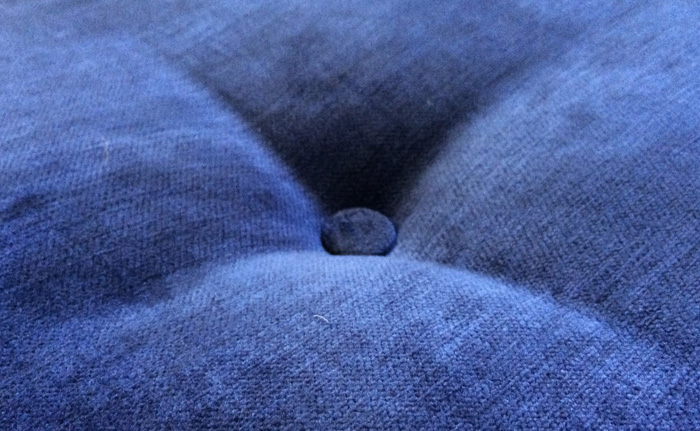 And there's the first tuft!
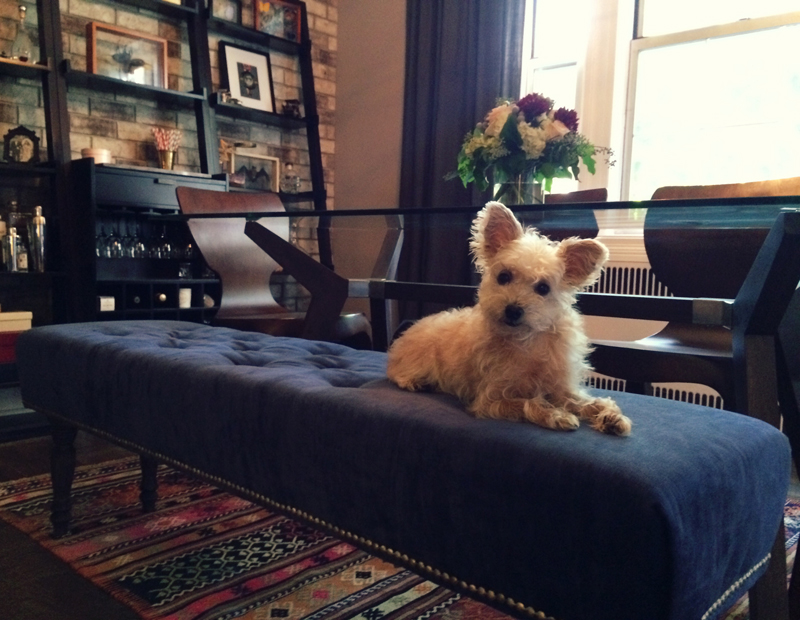
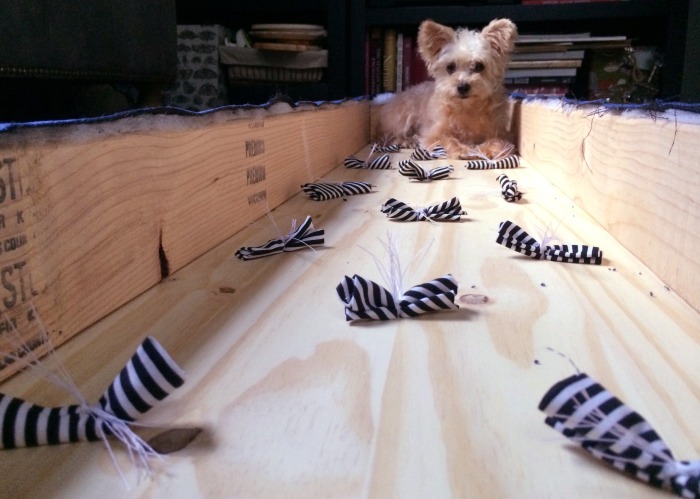 Wonka was convinced that this was a new play box for him, and refused to climb out all afternoon.
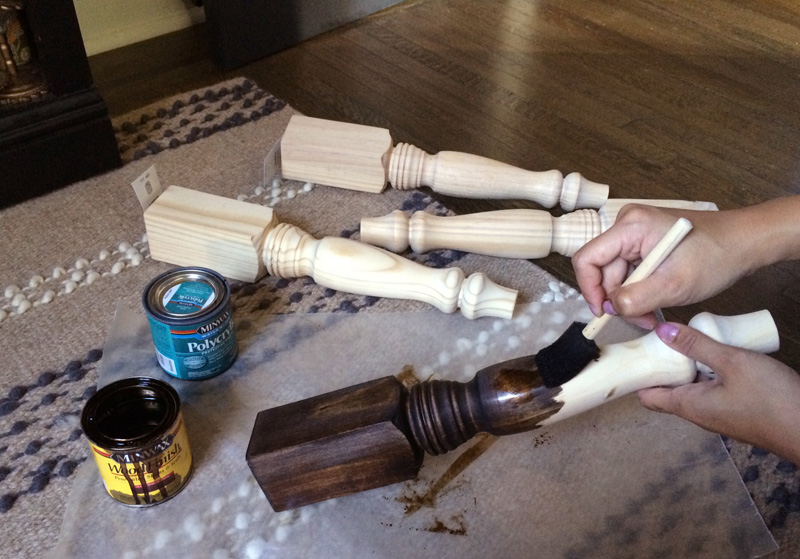 Turned rubberwood legs were stained to match our dark walnut dining table and chairs. This provides a touch of consistency and helps pull the mismatched pieces together for a cohesive look.
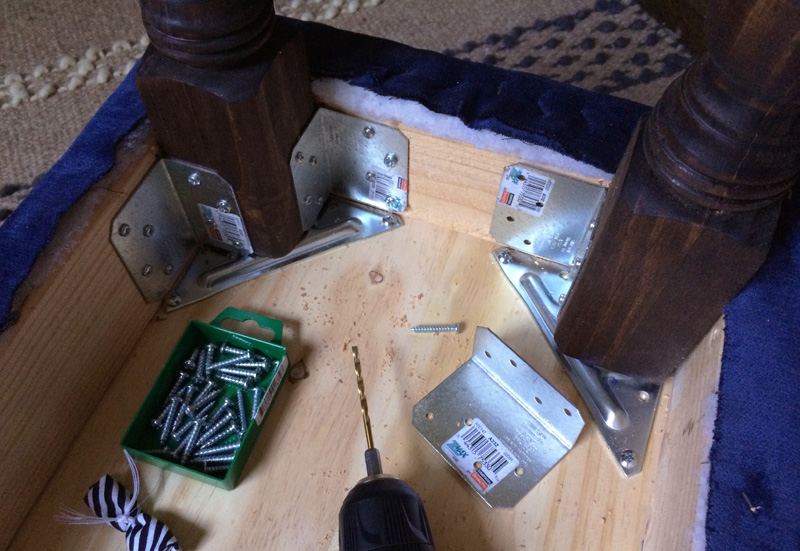 I would be so upset mortified if anyone were to ever bust their ass on a piece of furniture I made. Multiple galvanized steel joints were employed to attach and reinforce every single leg. Those suckers aren't going anywhere.
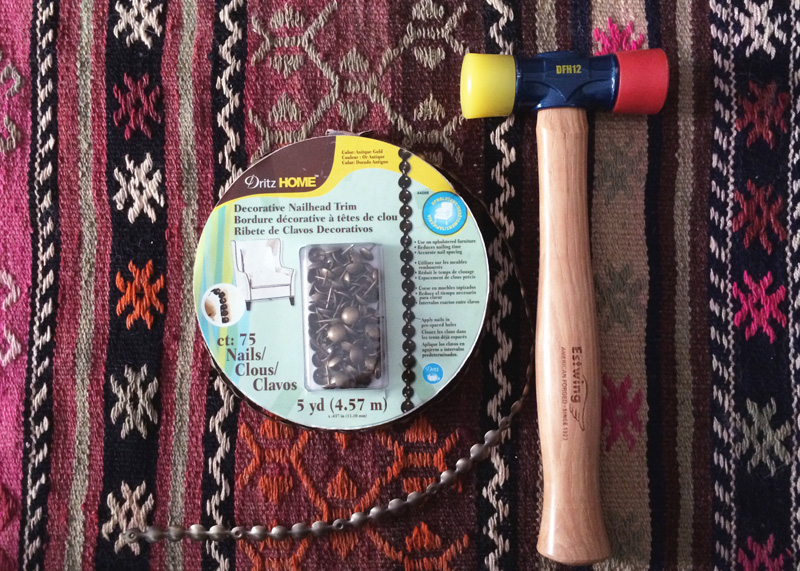 For a little extra oomph, I applied a border of nailhead trim along the base of the bench. I am a huuuggee sucker for nailhead detailing. It's simple and timeless, yet adds a ton of glam and personality to a piece of furniture.
 Trim application is easy - simply tap a nail in along every 5th stud. Much easier than hammering in 23475 individual nails, right? *TIP* Be sure to keep your line straight and parallel to the edge of the base, tapping gently with a nylon-tipped hammer so that you do not damage the metal finish on the tacks.
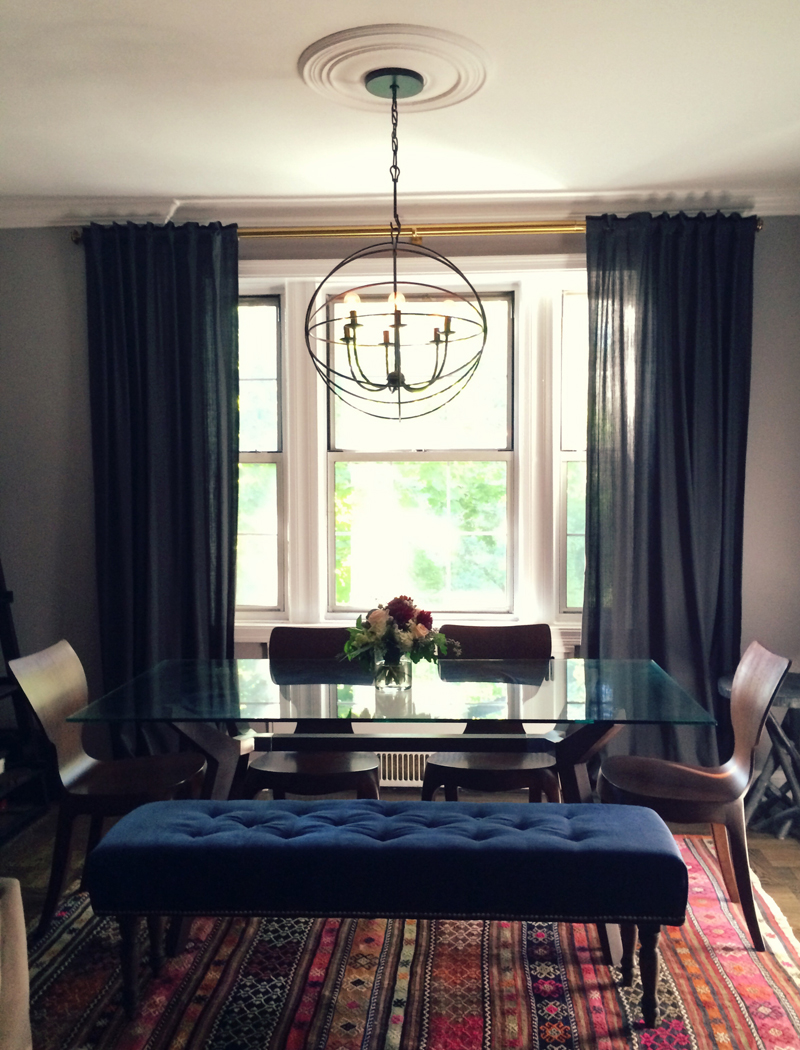 And voilà. All done! :) I am loving the way this happy mix jives with the kilim rug and prevents our dining space from feeling too formal.
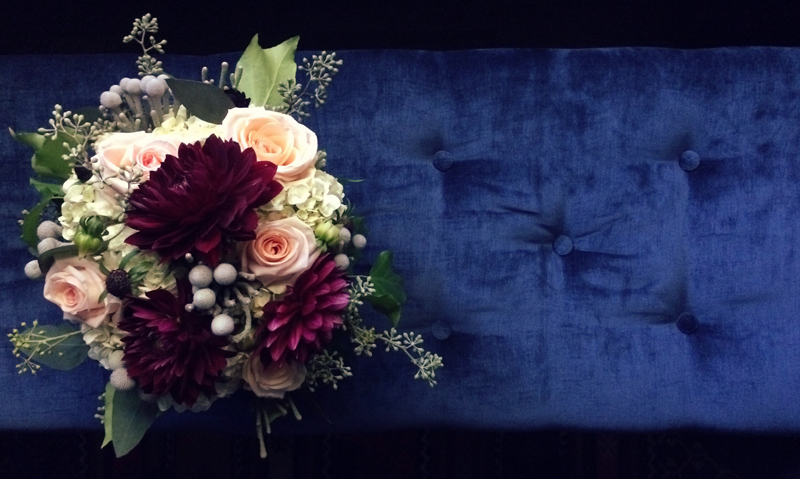 The tufted velvet exudes an elegant vibe while its dashing navy hue injects a handsome dose of color.
 Looking forward to sharing good times with some of you very soon! More later :)

 11 Comments