Entries in 2013 (23)

Tuesday
Dec172013

One for the Books

Whenever I asked for a toy as a child, my parents would often reply: "You want it? Let's make it!" Rather than purchasing the things I wanted, they would take me shopping for all the necessary tools and materials, then provide the guidance I needed to recreate the items I desired.

This was my mom and dad's way of spending quality time with me. They challenged my creativity and instilled a value of resourcefulness. I am grateful for these lessons because they've allowed me to discover the joy of working with my hands. It has become one of my deepest passions, and it influences everything I do today.

When I came across this vintage book iPhone dock at Anthropologie, the first thought that popped into my head was, "Oh neat! I want that."  The second thought that came to mind was, "You know what? I could make that." This turned out to be such a fun and simple project, and I am very happy to share it with you!

Here's what you will need:
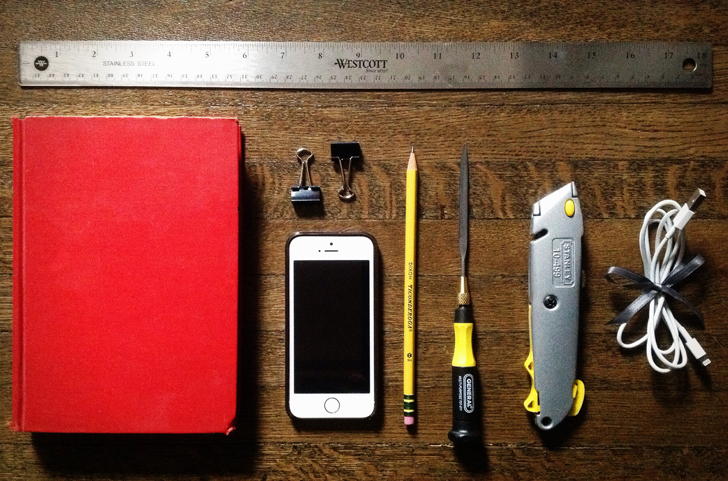
- Hardcover book of your choice (At least 1.5" thick)
- Ruler
- Pencil
- 2 binder clips
- Box cutter
- Thin metal file
- Phone & charger cable


Choose any hardcover book you'd like to turn into a dock. 
Sentimental attachment made me queasy about chopping up my own beloved books, so I swung by the Strand Book Store and picked up this 1943 edition of A Tree Grows in Brooklyn for a dollar. By the way, if you have not been to this bookstore, you really must stop by. And if you have not read this book, add that to your to-do list as well.

Make sure you are not cutting up a rare collector's edition, and we are ready to start!
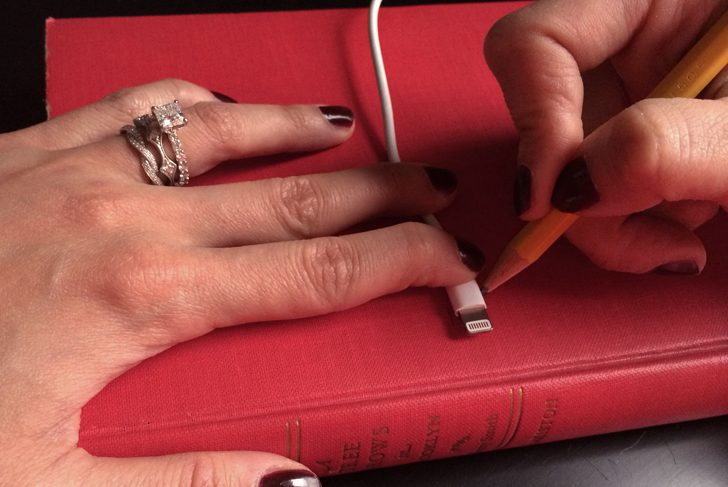

Begin by outlining the width and diameter of your charger with a sharp pencil. Be sure to trace as closely as possible.
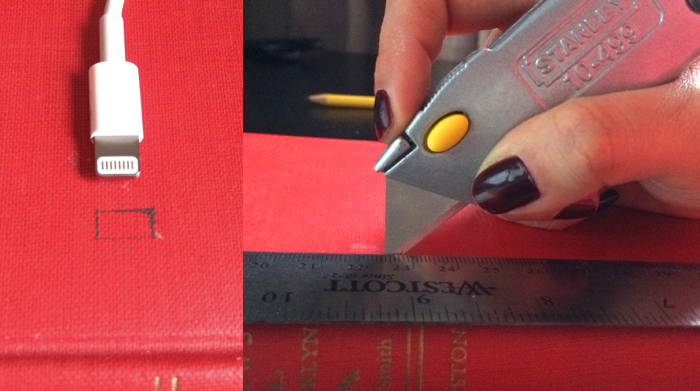

You know the saying - Measure twice, cut once. We do not want to waste any books on this project! Once you are certain that the outline is as close to the actual size of the base as possible, begin carefully cutting into the cover. Use a ruler as a guide to keep your lines straight. Rather than stabbing into the cover, I found that light, repetitive strokes were the most effective way to cut and maintain precision.
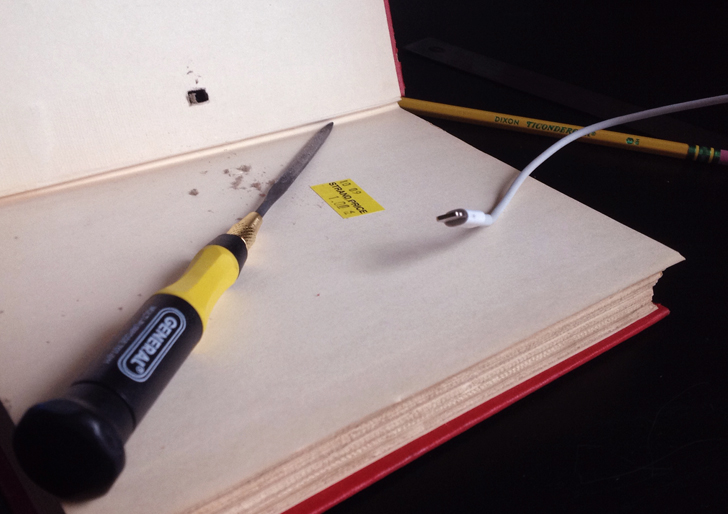
Once you break through the hard cover, try squeezing your charger through the opening. Use a thin metal file to fine tune any areas that need adjusting. File a little at a time and constantly check the fit. You want to achieve a very tight fit in order to create a base that will support your phone in a vertical position.

Eventually, you should be able to wedge your charger through the opening.
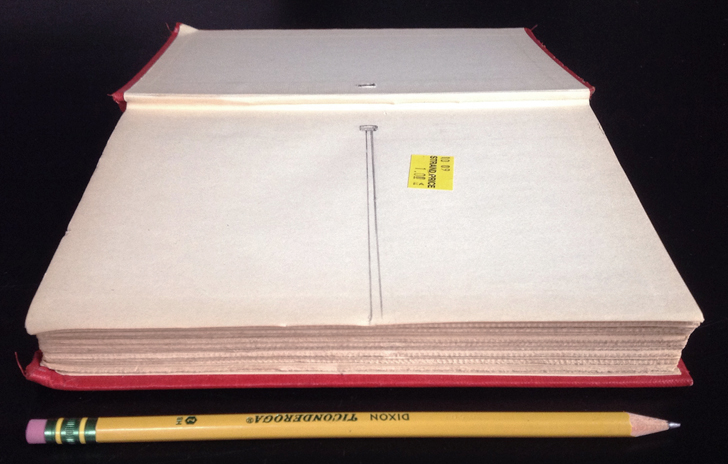

Trace through the opening in the cover to get an outline onto the first inside page. Then, using your ruler, draw a channel to accommodate the charger's cord.
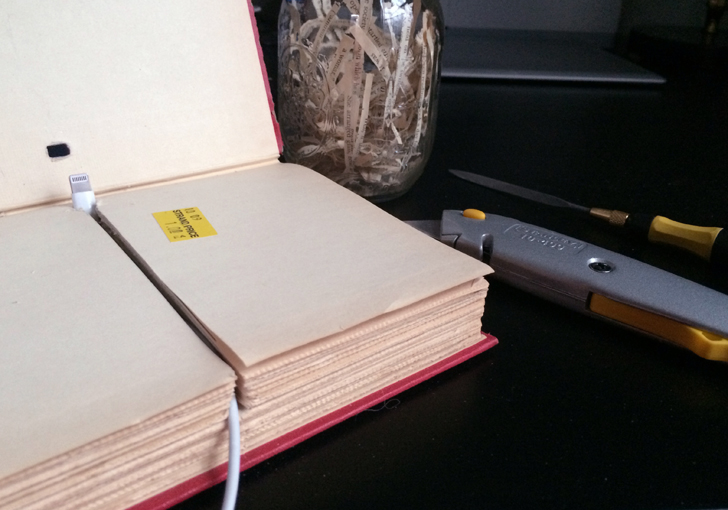

Use your box cutter and ruler to cut along the outline. This is where the binder clips come in handy - use them to keep the finished pages clipped back as you continue to cut through the book. After you have cut approximately 100 pages, try pushing the charger base into the cutout. Keep testing periodically to ensure that you are not cutting too deeply into the book.


Once you are able to fit the base snugly into the pages and the charger sits flush with the cover, you are all done!
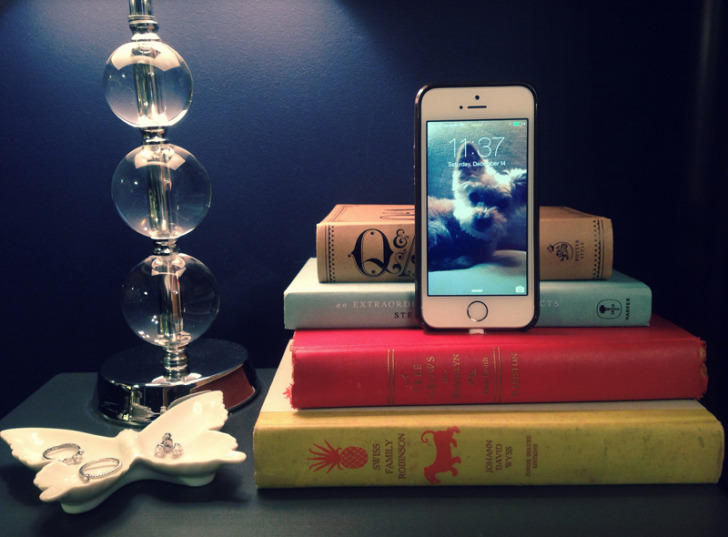
I usually charge my phone on my night stand at the end of each day. There's always a stack of nighttime reading at my bedside, so the new dock fits right in! I love that you can always swap out the surrounding books to create different looks. 
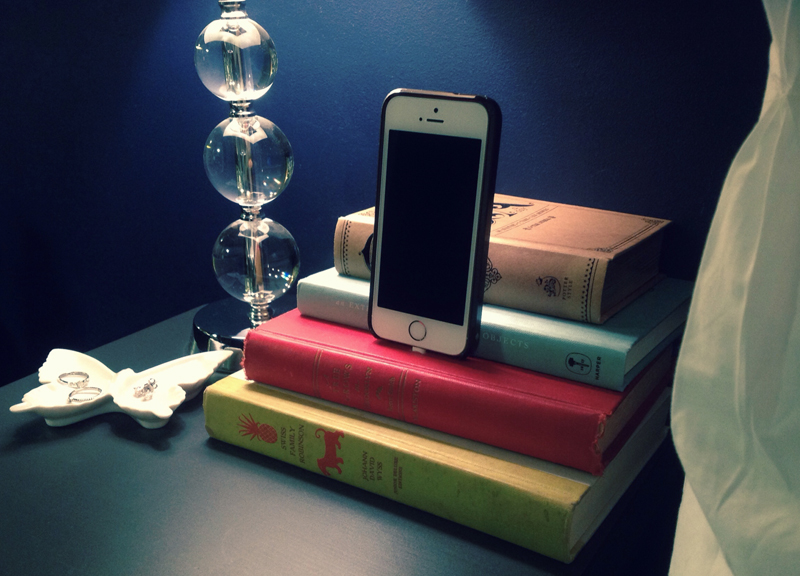
Prior to this project, I'd been clipping my charger to a pillow so that it would not fall behind our bed every time I unplugged my phone. Having a place to dock my phone is much more convenient, especially since I use it as my alarm clock. No more dropping my phone on the floor every time I hit snooze!
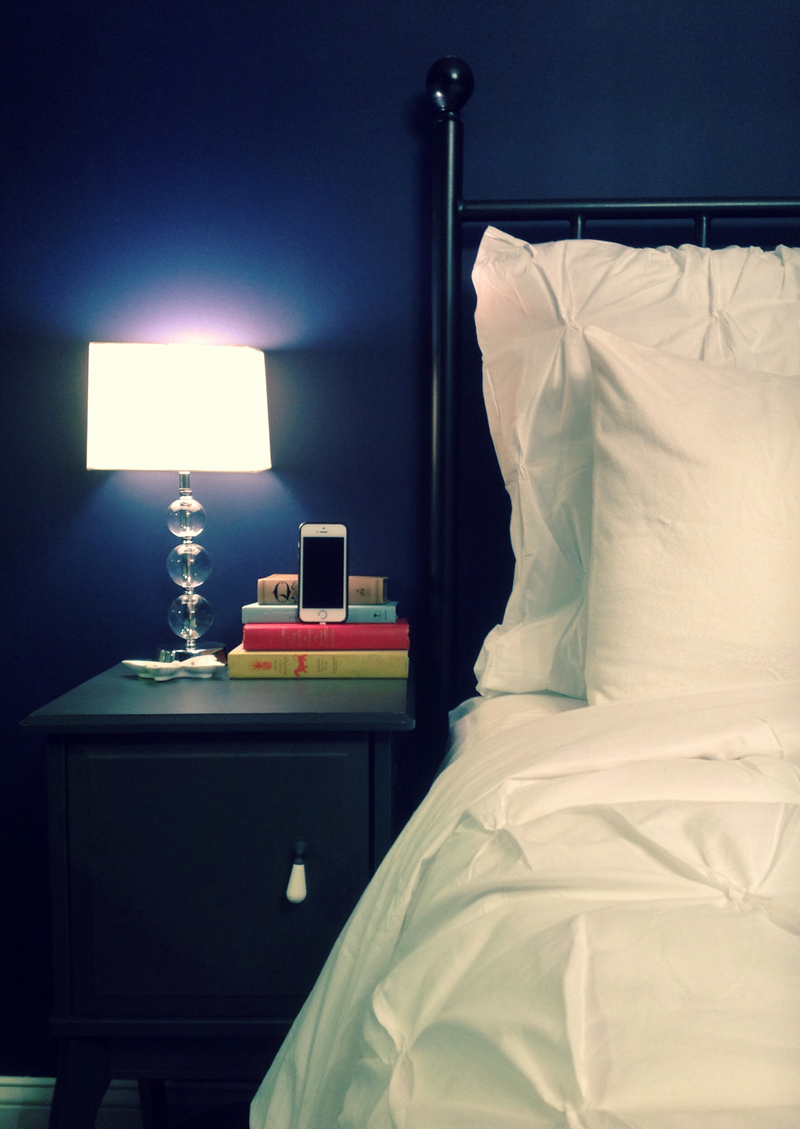
I hope you enjoyed this project! It's a cinch to adapt and personalize, and would make a fantastic gift for that lovely bibliophile on your list :)

Tuesday
Nov052013

Living It Up

Whether it's dinner, a movie, or kicked-back conversations over a few bottles of wine, having company over is one of my favorite ways to enjoy our home. In the short time Chris and I have lived in Hampton Court, we have already celebrated several birthdays, engagements, weddings, and babies! There is nothing like having friends and family come together to make your place feel truly like a home.

When it came to designing our living and dining rooms, I focused on decorating for happy times. My goal was to create an easy space that could accommodate intimate gatherings as well as larger occasions. It had to look pulled together and polished, but also needed to be functional and practical so that we are not afraid to live in it and use it.

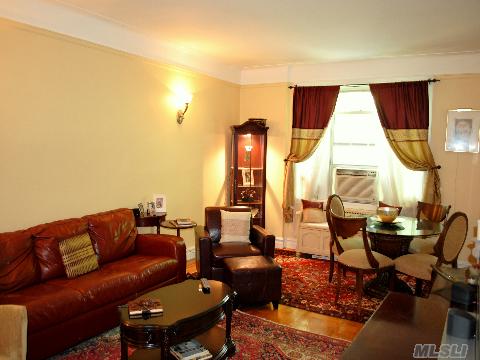
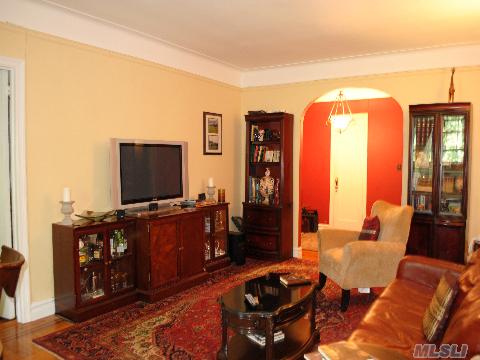
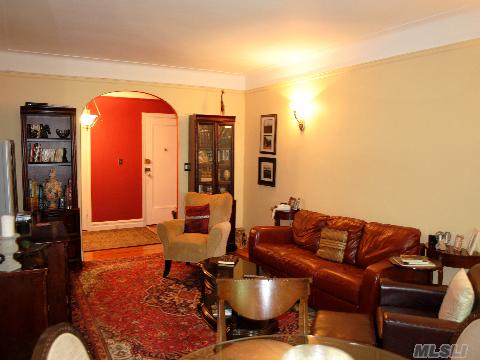
Everyone loves a good ol’ Before-and-After, so here are some listing photos for your reference:

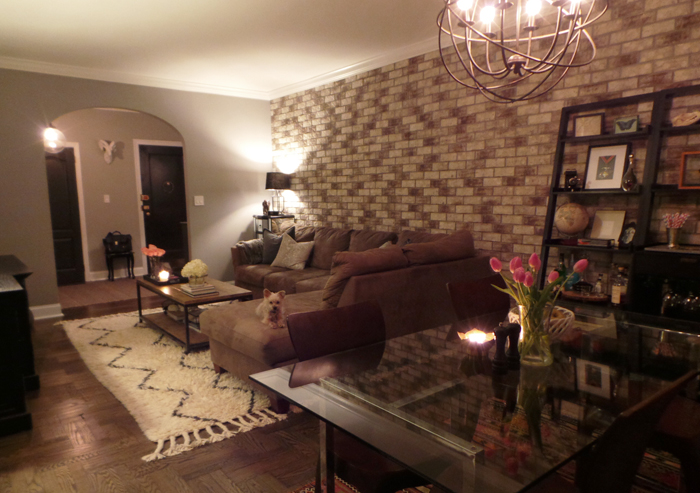
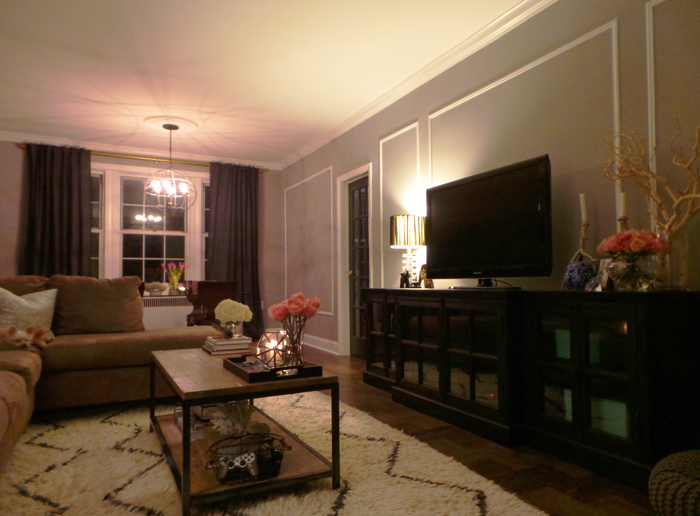
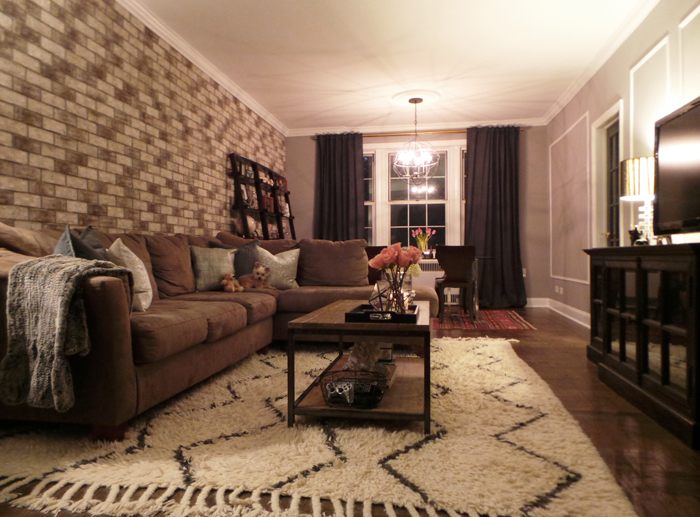
And, voilà! Our new living room!

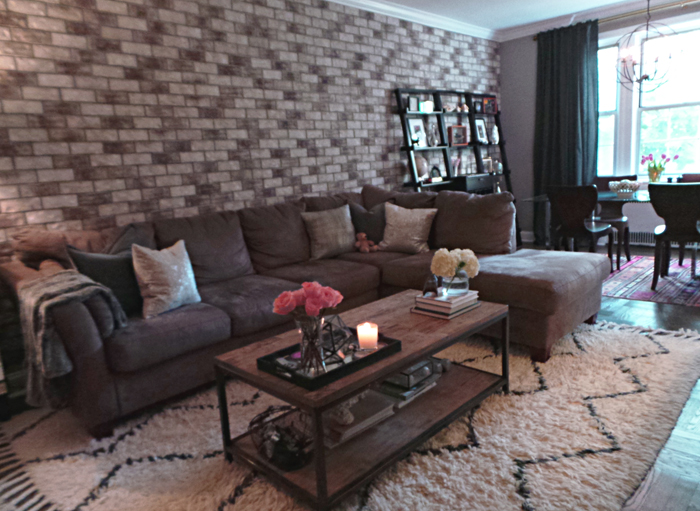
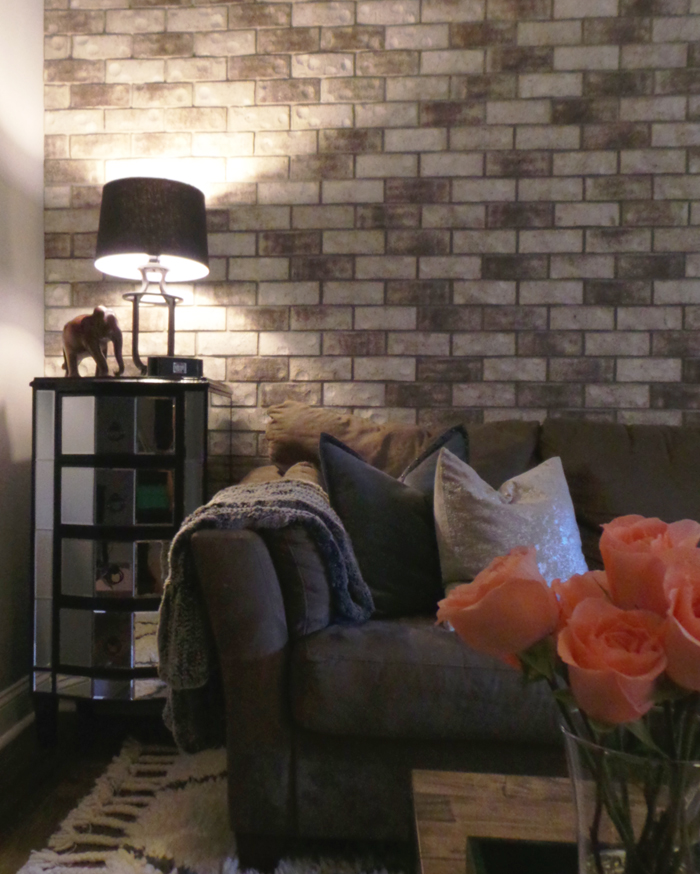
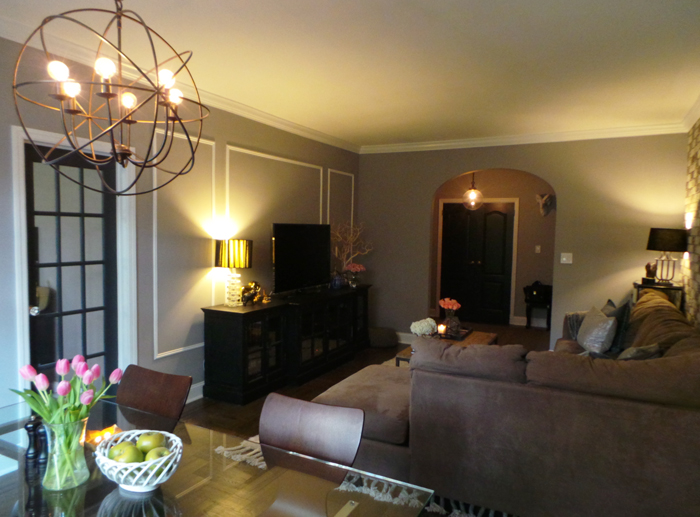
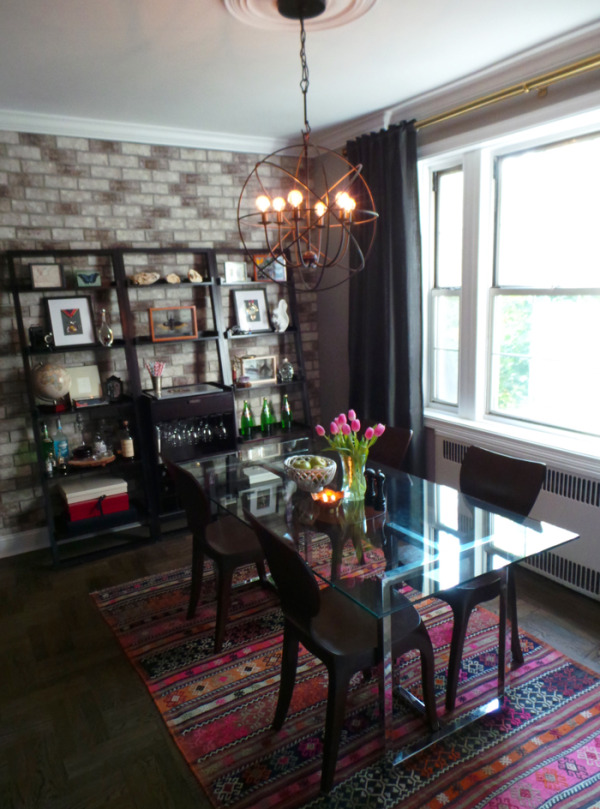
The furniture arrangement is a casual spin on a formal setup. I designated a traditional dining space that is separate from the living area while keeping the entire room open for bigger groups and conversations.

Oh, remember my ridiculous DIY brick wall project? It was a true labor of love, and it was completely worth it! The brick accent wall helps to bridge the two seating areas together. It also offers a good amount of soundproofing, which is great because our gatherings tend to get a little rowdy!

With most of our budget dedicated to renos, my goal was to design around all the pieces we already had. I am happy to say that with the exception of a media console (our old one from Target started sagging in the middle) we did not have to purchase any new furniture for this room!

Our sofa was the first piece of furniture Chris and I purchased together as a couple, and it holds a ton of sentimental value. It is such a welcoming spot to snuggle up for a movie, a book, or a good heart-to-heart, and you'd be surprised how many of our friends have fallen asleep on it! :) The shag rug is also super comfy and offers additional casual seating, but it sheds like a mofo.

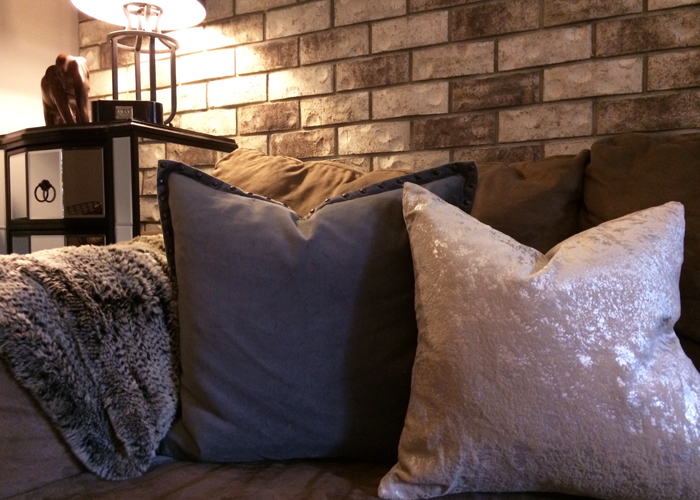
I recently threw in a few new throw pillows to give our sofa a pretty update. A fur throw also elevates the cozy factor on a chilly night!

Speaking of cozy...

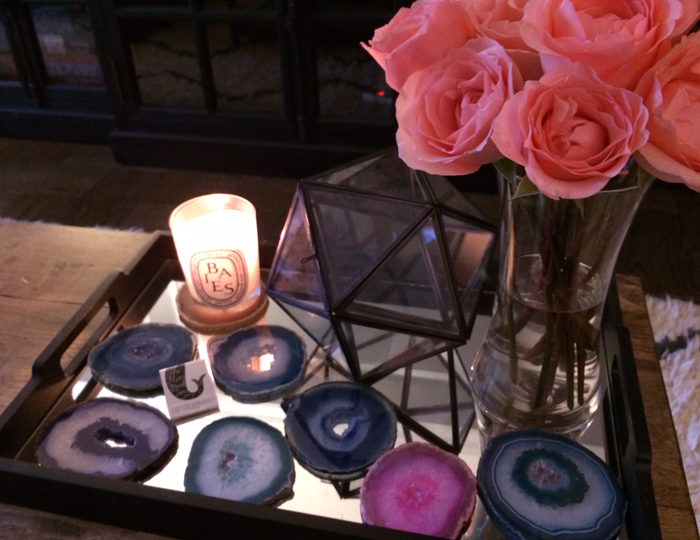
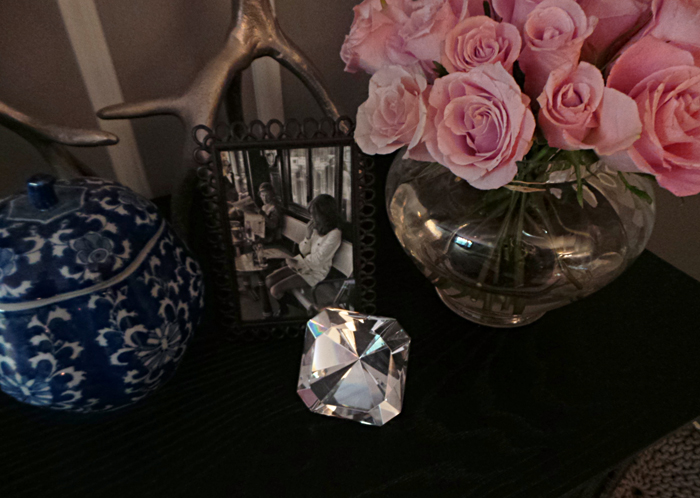
Chris brings home flowers every Friday after work. It is incredibly sweet and romantic, and I just love having fresh flowers in our home!

This mirrored chest keeps all our DVDs and video games organized and out of sight.

Our elephant family, collected from all around the world.

Sweet mementos.

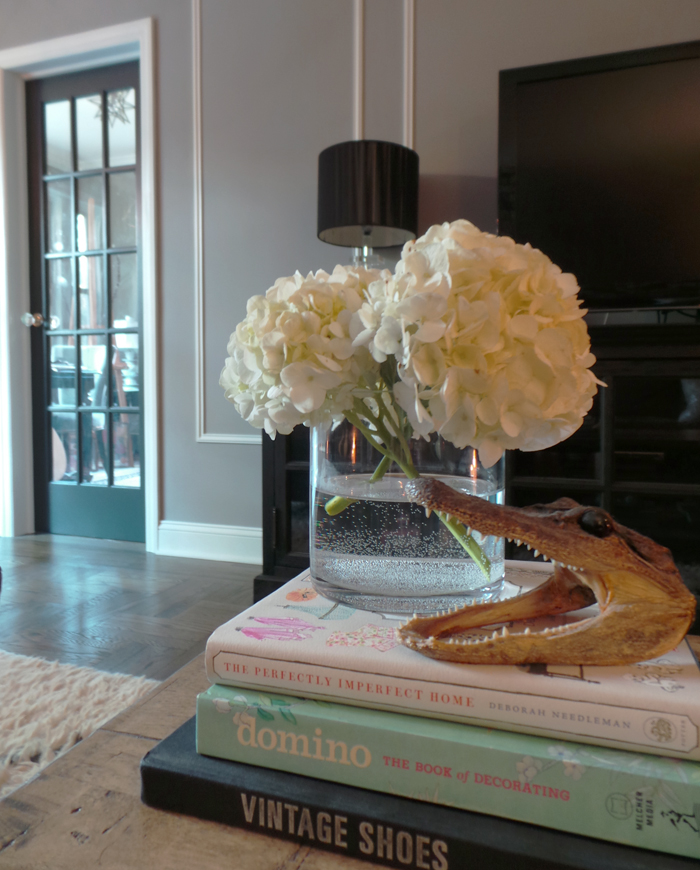
A few of my favorite coffee table books.

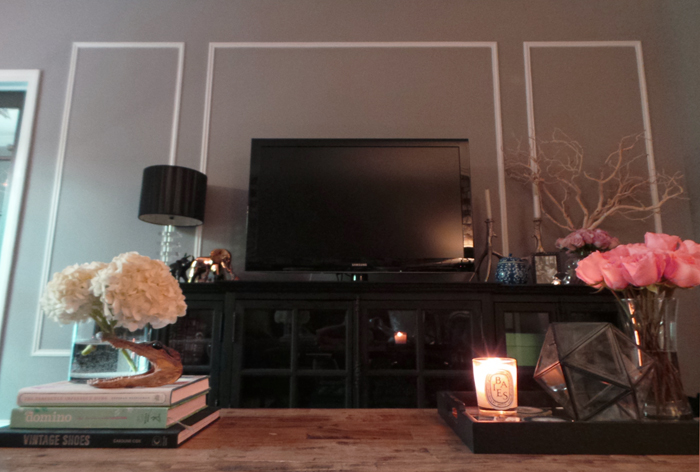
Our new media console was a true investment piece. It is humongous and did not fit in our elevator, and two very kind delivery men carried it up to our 4th floor apartment. Needless to say, it is staying put for a while! It stylishly houses electronics, favorite books, board games, and sentimental objects.

The sectional subtly separates the living and dining areas while allowing both to remain open and inviting.

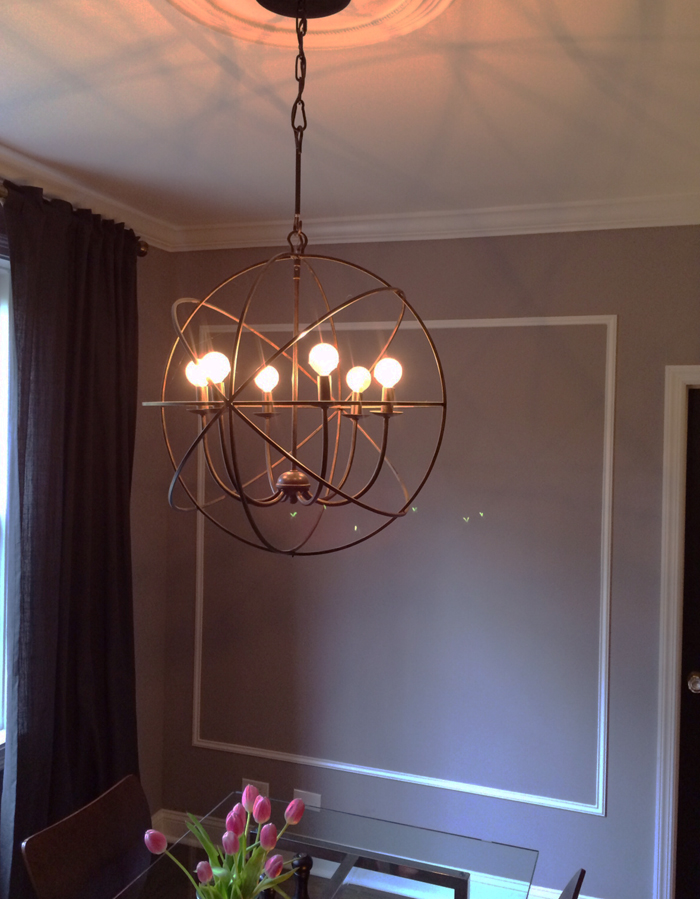
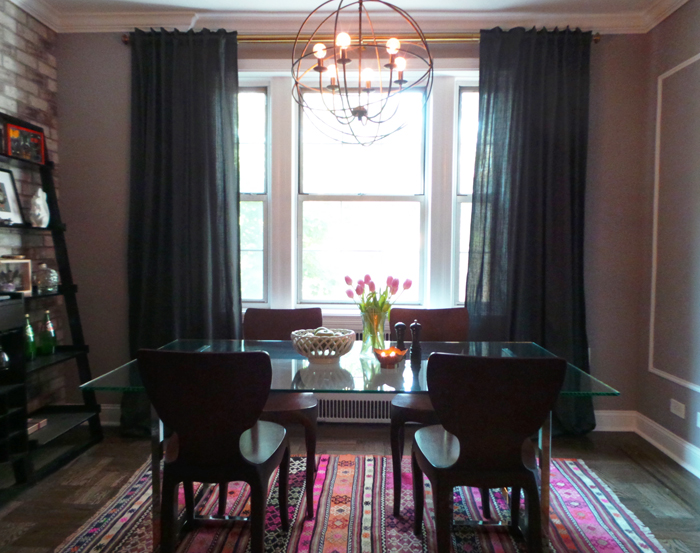
Lighting is a vital part of setting the mood for any occasion. We installed this orb chandelier in order to illuminate the room and define the dining area as a separate space. I love the way the openwork iron sphere plays off the rustic feel of our brick wall while the sparkling inner chandelier provides a nice dose of glam. It casts the coolest shadows on the walls.

A bar conveys good old-fashioned hospitality. It readily offers refreshments and also doubles up as an additional surface to serve food and hold extra dinnerware.

An antique Turkish kilim rug accentuates the dining area. This fun unexpected pop of pink shakes up our overall neutral palette, and its pattern is busy enough to forgive food stains. Because life happens!

I love the view from our living room window, especially around this time of year. Just look at those colors!

With the holidays right around the corner, I am really looking forward to hosting some very special get-togethers with our loved ones! Hope to see you guys soon!

Tuesday
Aug272013

Office Ours

A relaxing weekend for me doesn't necessarily involve sleeping in and lounging around all day. It's more about spending time completely immersed in something I truly love.

I'd been feeling a bit run-down lately and was in dire need of some downtime to unwind. So, this past Saturday, I shut myself in a room and just painted to my heart's desire! For fifteen hours straight. By the time I was finished, I felt absolutely refreshed, revitalized, and happy.

It is wonderful and very important to have somewhere to go and just get lost doing something you are passionate about. Our office is my favorite place to catch my breath and let my mind loose. Here's a peek inside!


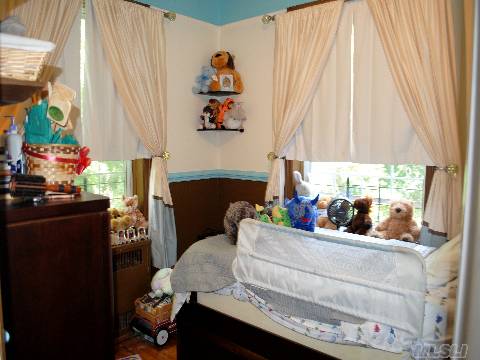
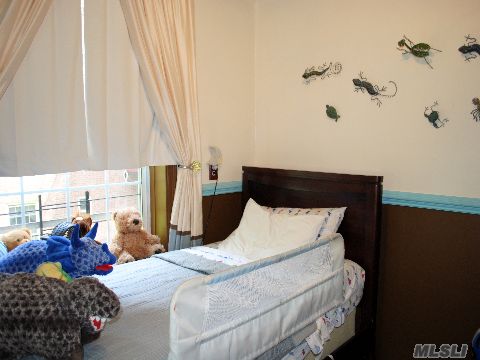
As you can see from these listing photos, our second bedroom was previously an adorable little boy's room. Since we don't have any kids yet, Chris and I decided to utilize this space as a home office. This serves as a practical space for managing all our household affairs, but I like to think of it more as a studio…  a laboratory for exploring and experimenting with ideas.


This is where we come to make things happen. I love coming in here with a cup of coffee - it's always a good time. The serene atmosphere fosters a wealth of creativity and productivity.

The office is connected to the living room, so I decided to replace the original solid door with a glass paned one. This allows us to spend time alone in here without feeling completely isolated from each other. It also lets Wonka peek in when I am working on messier projects that he isn’t allowed to sniff around. After surviving the move, my pinboard is starting fresh – a blank canvas for new inspiration and mementos (and parking tickets).

This room has the best view in the apartment. All you see is trees when you look out the windows. With such splendid scenery, it is very hard not to feel inspired. What a lovely place to read, write, sew, paint, draw, sing, and pay bills! :)


With all the foliage surrounding this room, it only felt right to bring some of that green inside. This sunny corner makes a happy home for our fiddle leaf fig tree. The bench is a comfy place to hang out and read a book, and it is one of Wonka's favorite napping spots.


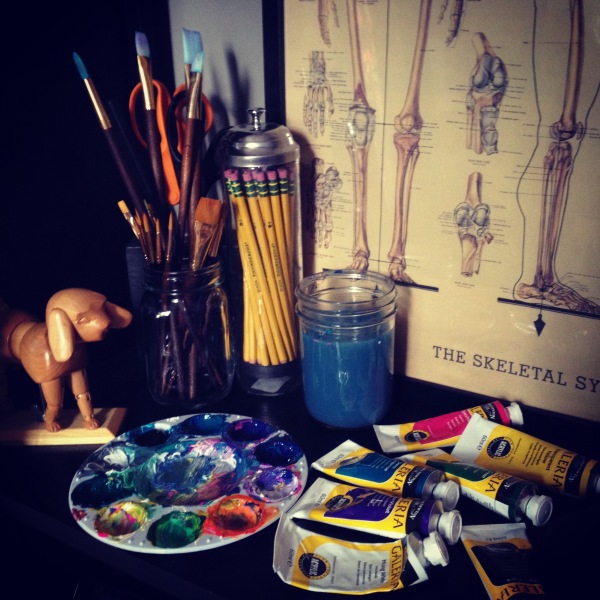
This is where I hoard my arsenal of crafting tools and supplies. Practical storage solutions play a vital role in keeping everything organized and Chris’ sanity in check!


And here is my finished painting! It makes me smile :) I am really looking forward to working on many more projects in this happy space.