Thursday
Feb072013
Picture Perfect
 Thursday, February 7, 2013 at 12:38PM
 There is a pole in our living room, but it's not what you think, people. Nobody is makin' it rain up in this club. This is actually a mounting device for a badass laser tool that was used during the installation of our picture frame moulding.
Applying picture frame moulding is a simple way to elevate and add definition to your walls. Since these decorative frames are visually outlined by your floor, walls, and ceiling, it is essential to make sure each panel is mounted symmetrically. Any lopsided lines may cause the rest of your room to look unbalanced. A good old-fashioned tape measure and level can do the trick, but I thought it was pretty neat how the lasers cut all the guesswork out of this project.
Applying picture frame moulding is a simple way to elevate and add definition to your walls. Since these decorative frames are visually outlined by your floor, walls, and ceiling, it is essential to make sure each panel is mounted symmetrically. Any lopsided lines may cause the rest of your room to look unbalanced. A good old-fashioned tape measure and level can do the trick, but I thought it was pretty neat how the lasers cut all the guesswork out of this project.
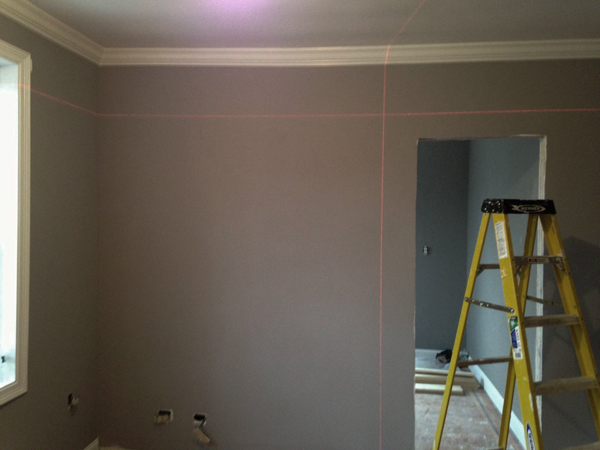
The dual-axis projector is calibrated to zap perfectly perpendicular horizontal and vertical beams onto the wall. This creates a precise layout for the moulding.
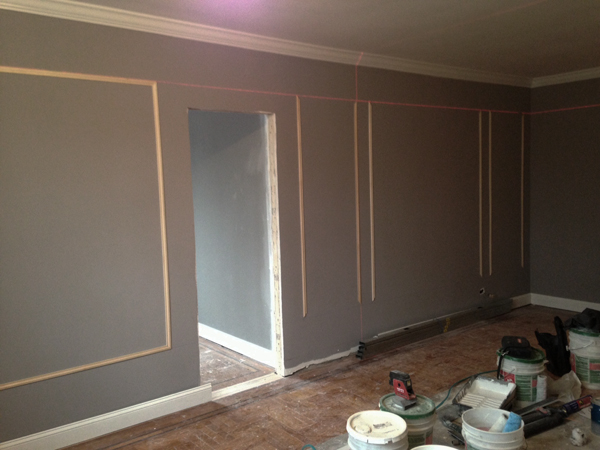
Work in progress. Looking good!
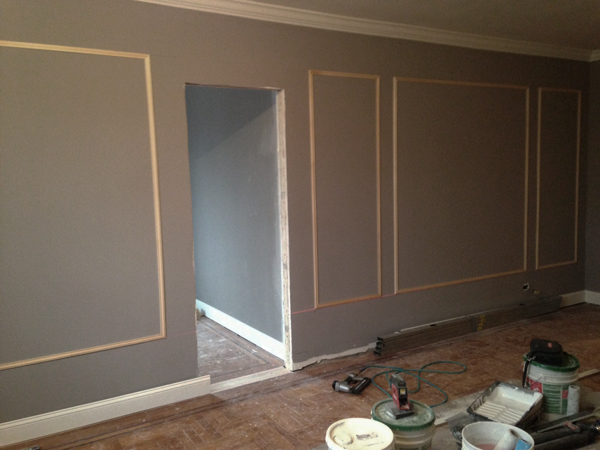
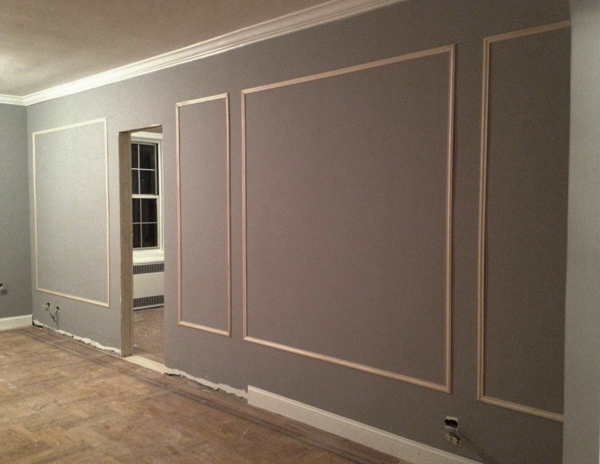
Voilà! Lovely, impeccable picture frame moulding.
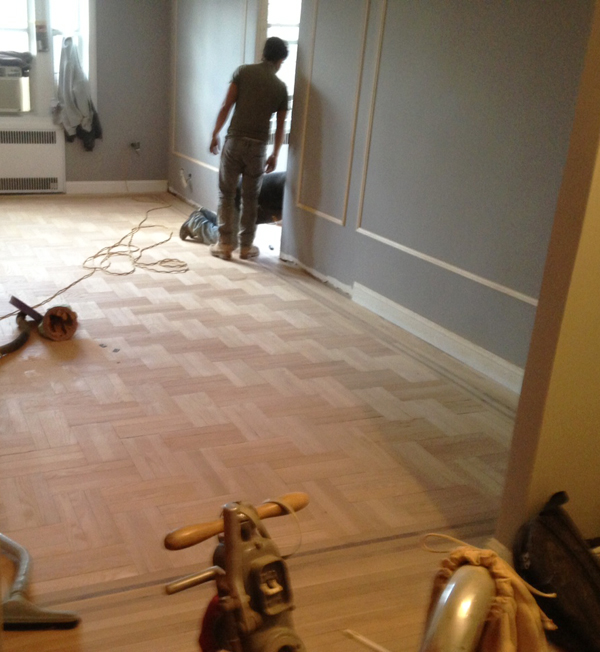
BTW- My jaw dropped when I saw how gorgeous our parquet flooring looked post-sanding! I'm almost tempted to keep it as-is and let the red oak shine in all its glory. But I will do no such thing :)
More later!


