Living It Up
Whether it's dinner, a movie, or kicked-back conversations over a few bottles of wine, having company over is one of my favorite ways to enjoy our home. In the short time Chris and I have lived in Hampton Court, we have already celebrated several birthdays, engagements, weddings, and babies! There is nothing like having friends and family come together to make your place feel truly like a home.
When it came to designing our living and dining rooms, I focused on decorating for happy times. My goal was to create an easy space that could accommodate intimate gatherings as well as larger occasions. It had to look pulled together and polished, but also needed to be functional and practical so that we are not afraid to live in it and use it.
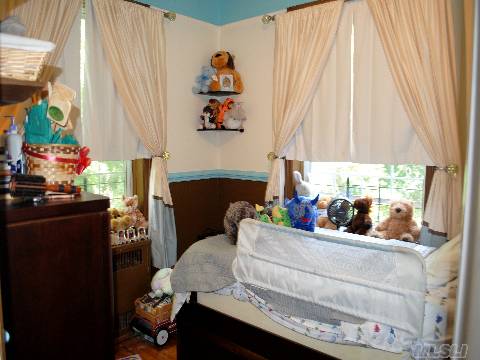
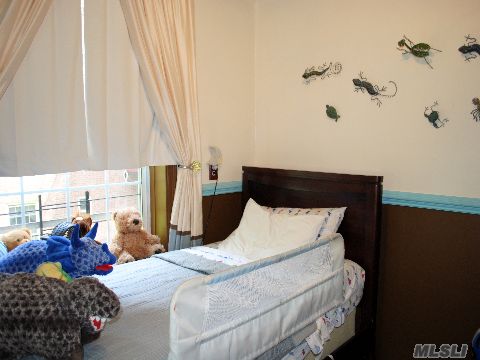
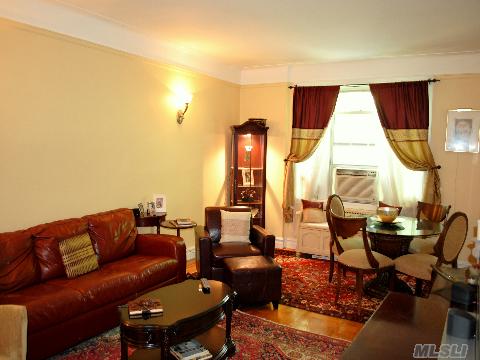
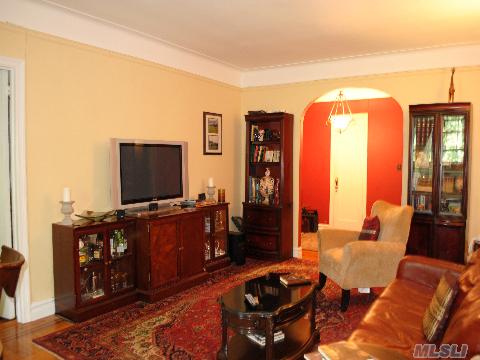
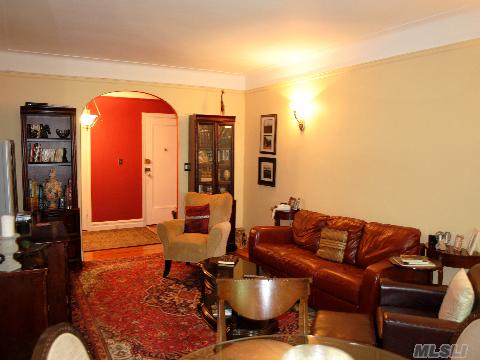
Everyone loves a good ol’ Before-and-After, so here are some listing photos for your reference:
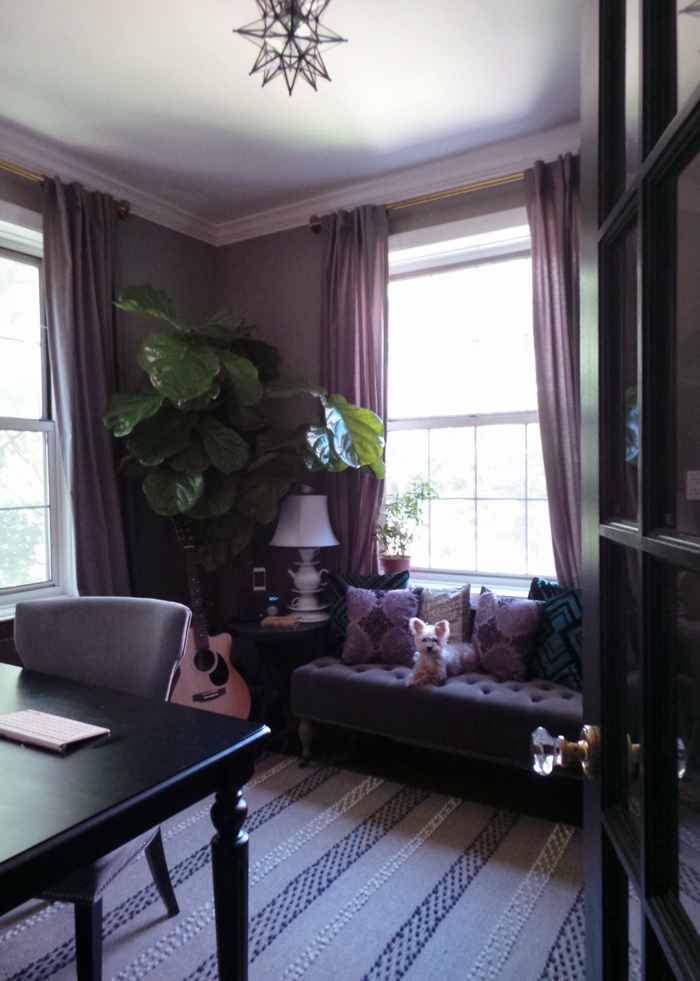
And, voilà! Our new living room!
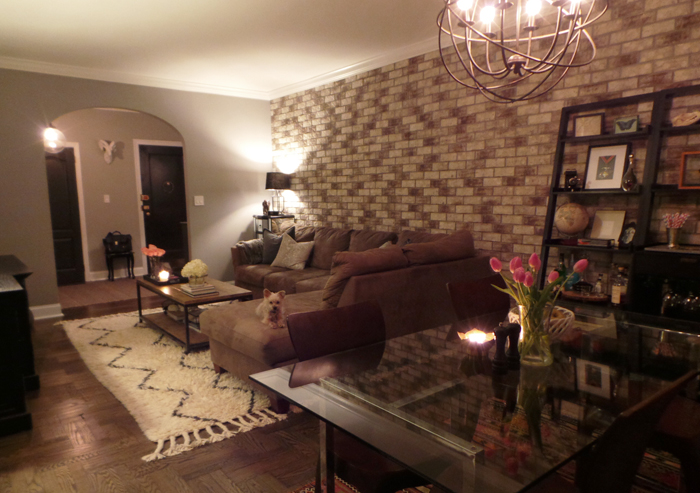 The furniture arrangement is a casual spin on a formal setup. I designated a traditional dining space that is separate from the living area while keeping the entire room open for bigger groups and conversations.
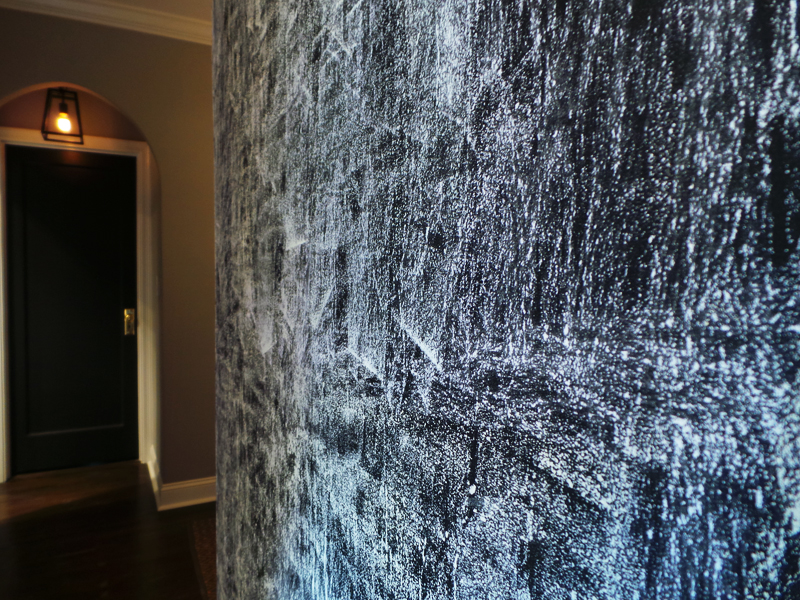
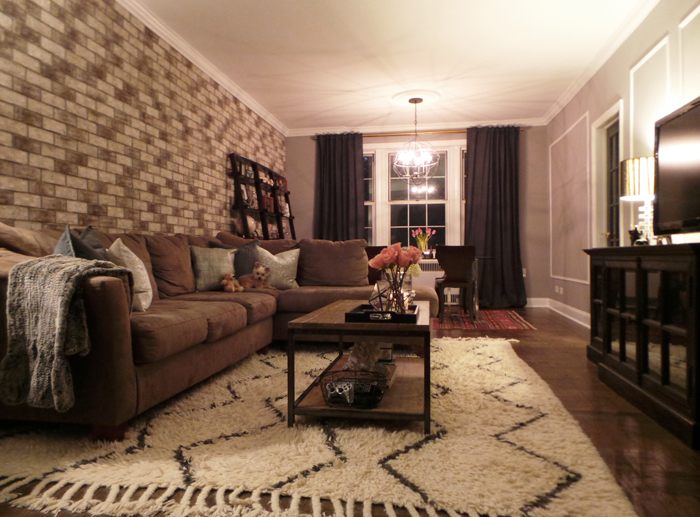
Oh, remember my ridiculous DIY brick wall project? It was a true labor of love, and it was completely worth it! The brick accent wall helps to bridge the two seating areas together. It also offers a good amount of soundproofing, which is great because our gatherings tend to get a little rowdy!
 With most of our budget dedicated to renos, my goal was to design around all the pieces we already had. I am happy to say that with the exception of a media console (our old one from Target started sagging in the middle) we did not have to purchase any new furniture for this room!
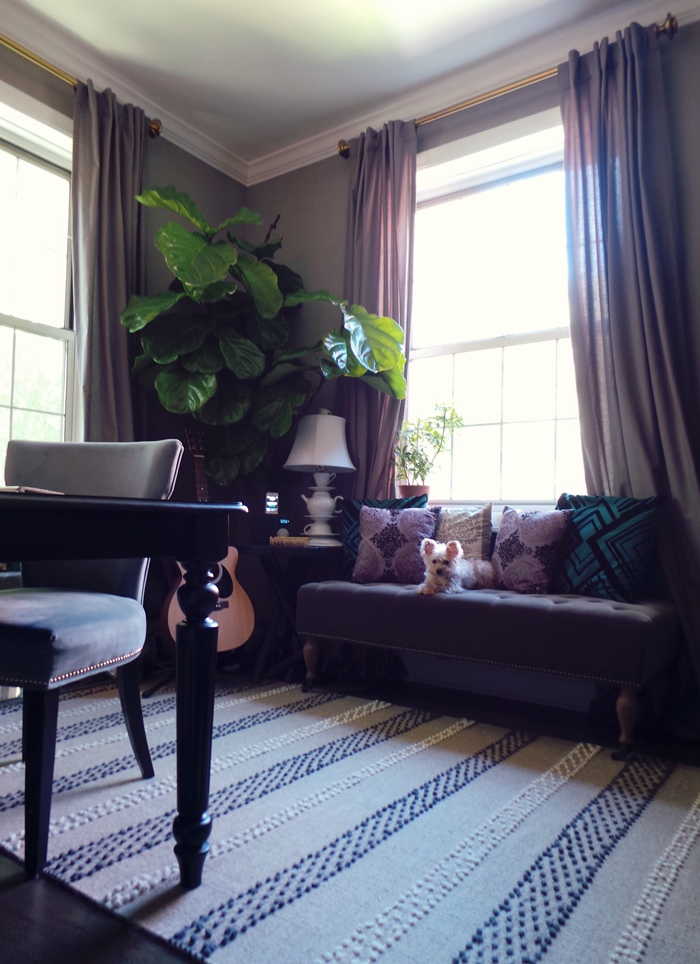
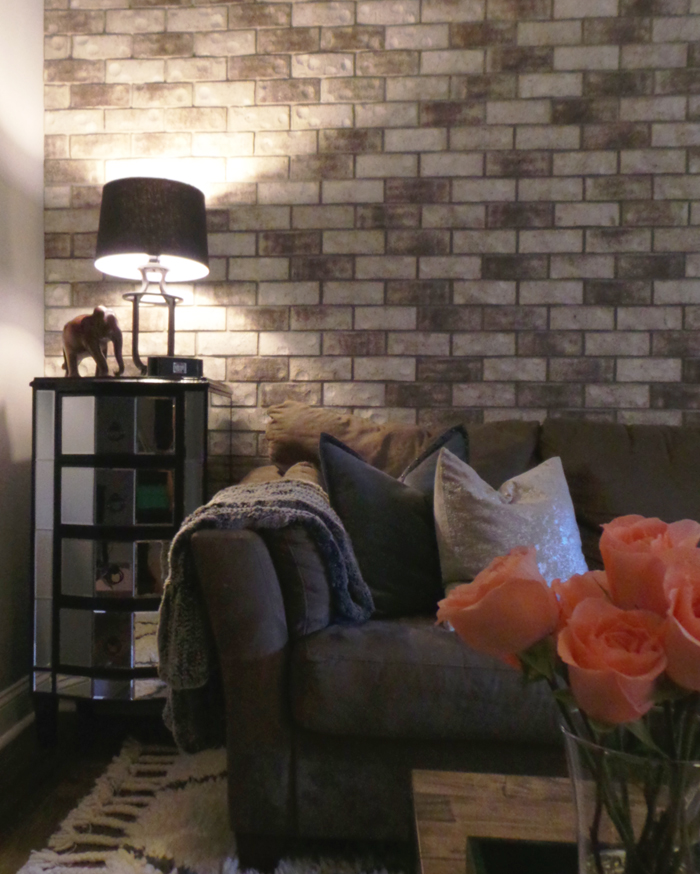
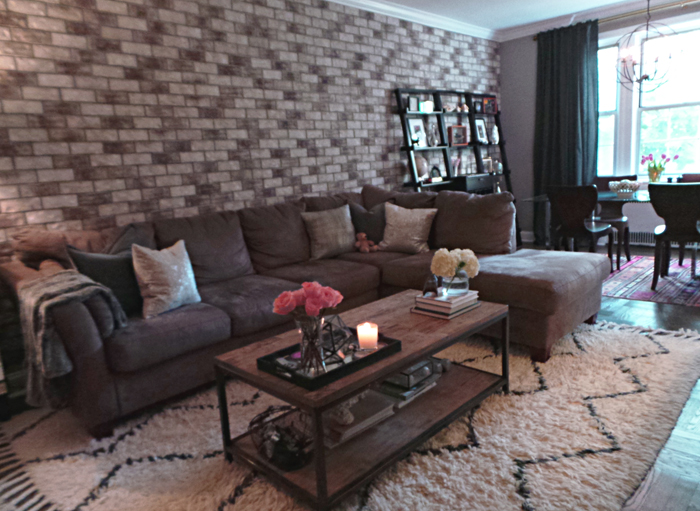 Our sofa was the first piece of furniture Chris and I purchased together as a couple, and it holds a ton of sentimental value. It is such a welcoming spot to snuggle up for a movie, a book, or a good heart-to-heart, and you'd be surprised how many of our friends have fallen asleep on it! :) The shag rug is also super comfy and offers additional casual seating, but it sheds like a mofo.
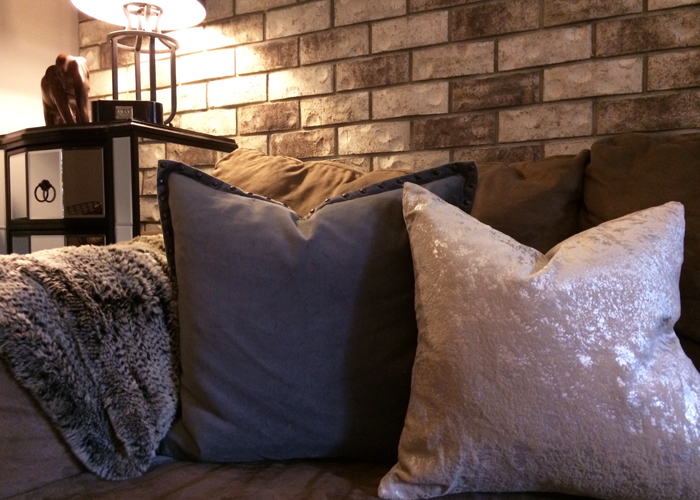 I recently threw in a few new throw pillows to give our sofa a pretty update. A fur throw also elevates the cozy factor on a chilly night!
 Speaking of cozy...
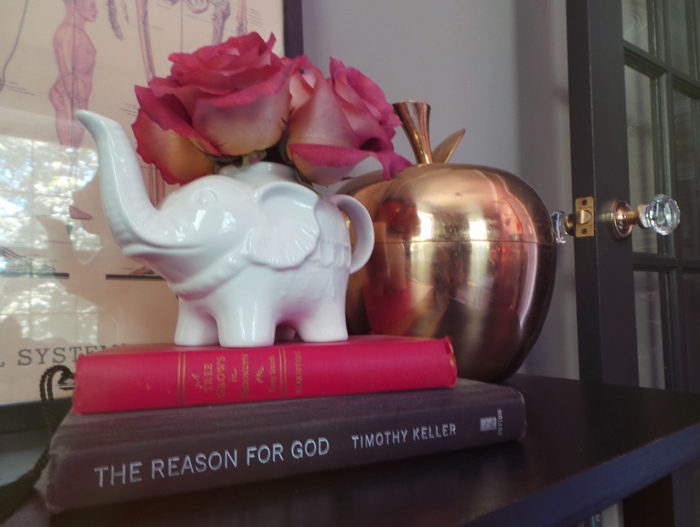
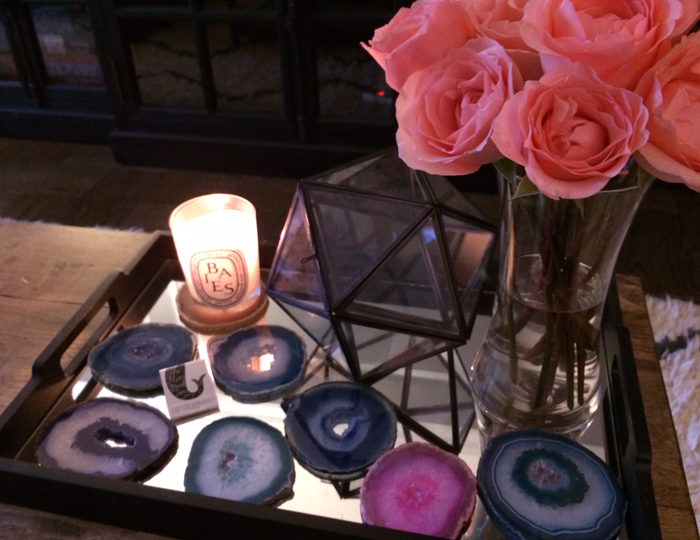 Chris brings home flowers every Friday after work. It is incredibly sweet and romantic, and I just love having fresh flowers in our home!
 This mirrored chest keeps all our DVDs and video games organized and out of sight.
 Our elephant family, collected from all around the world.
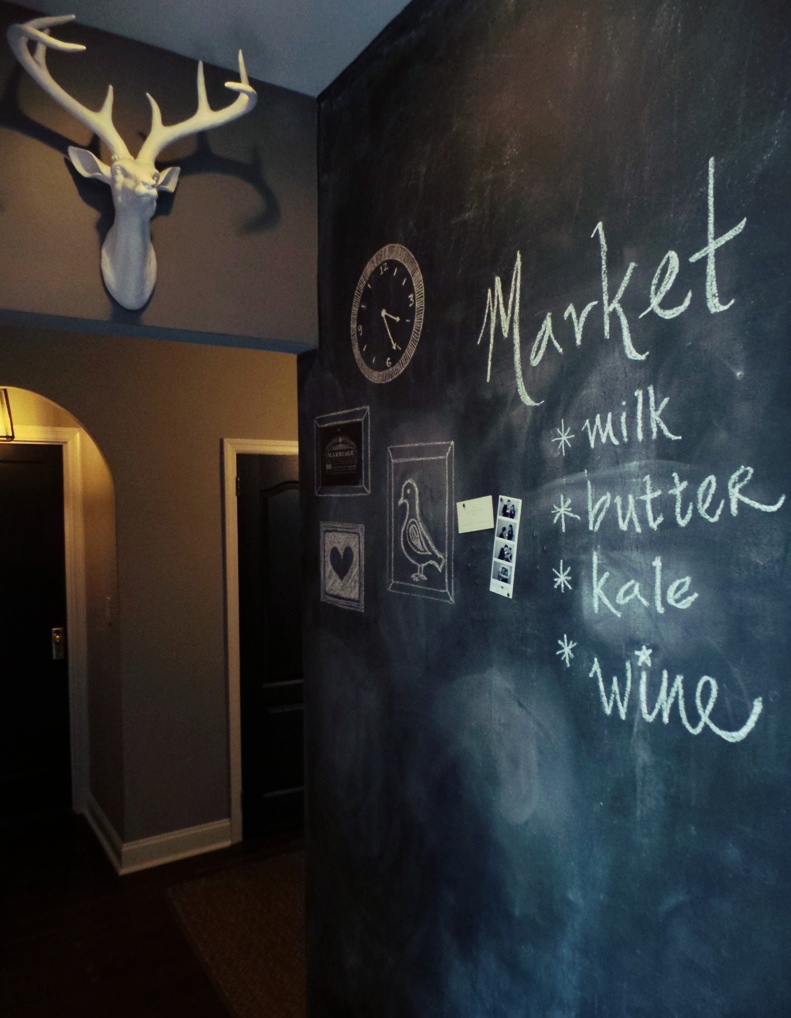
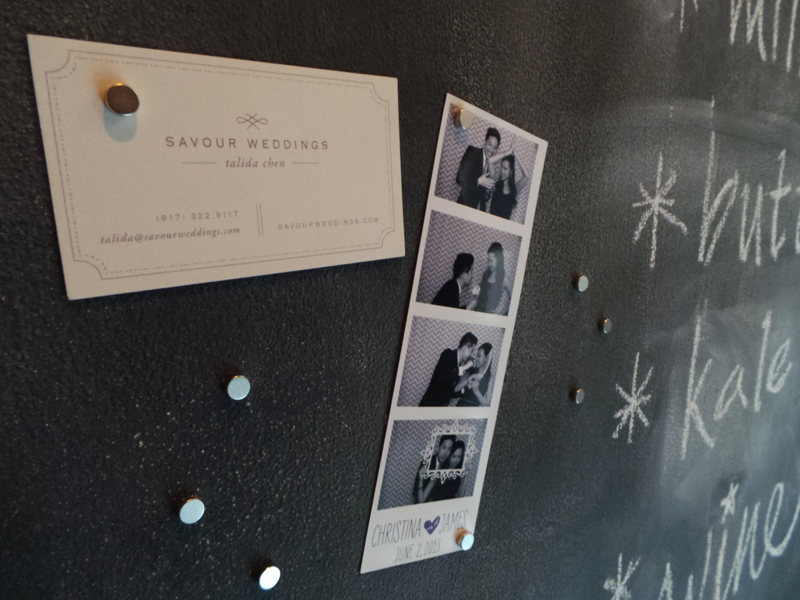
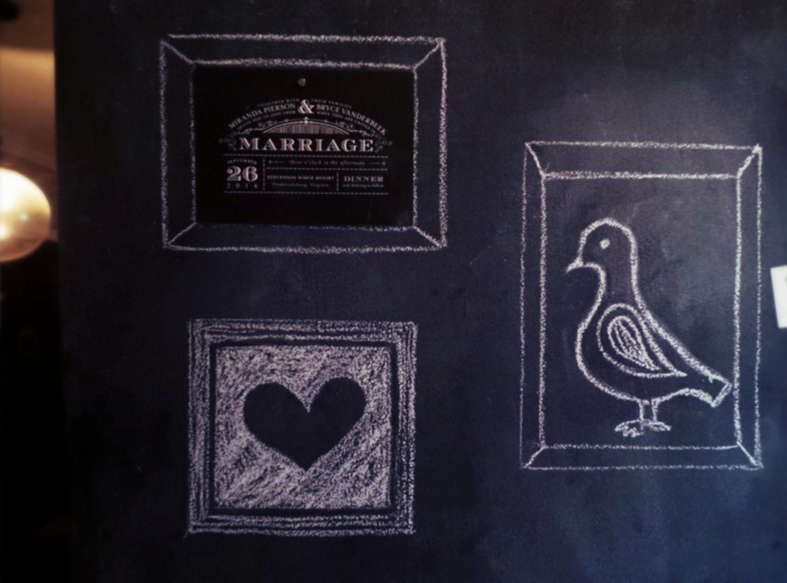
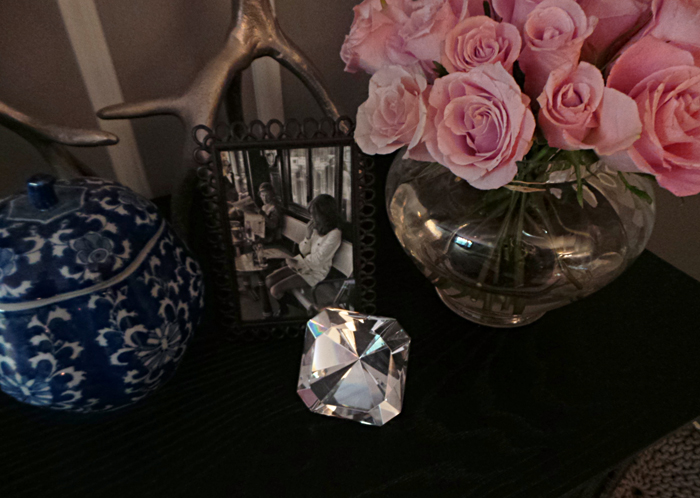 Sweet mementos.
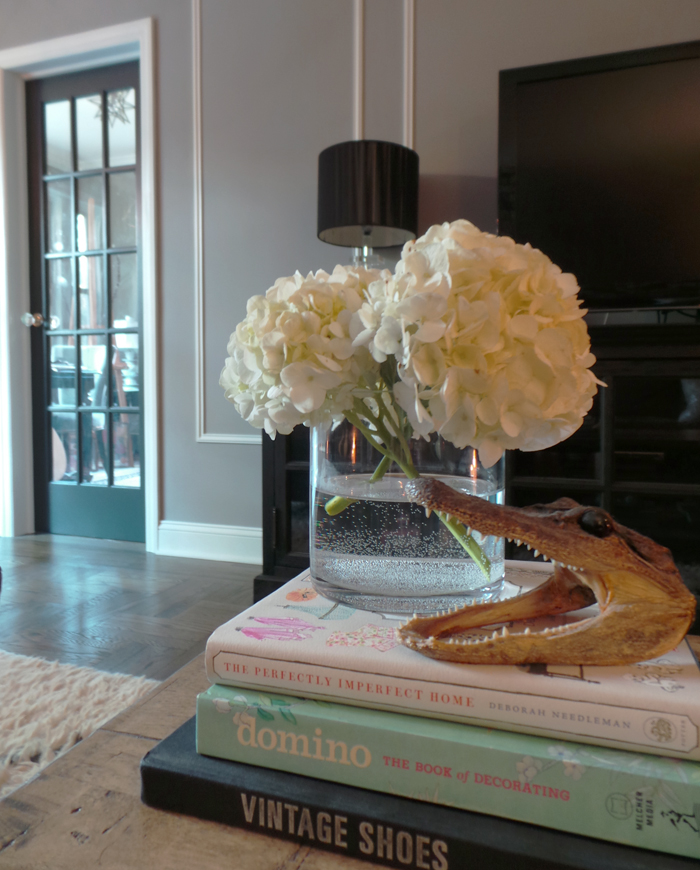 A few of my favorite coffee table books.
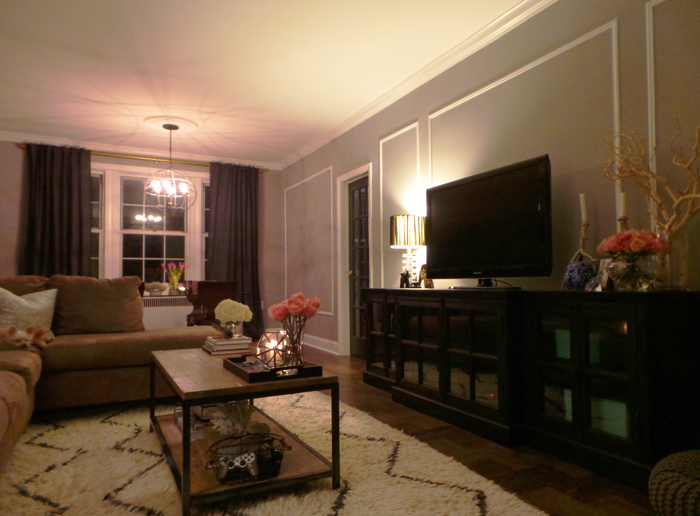
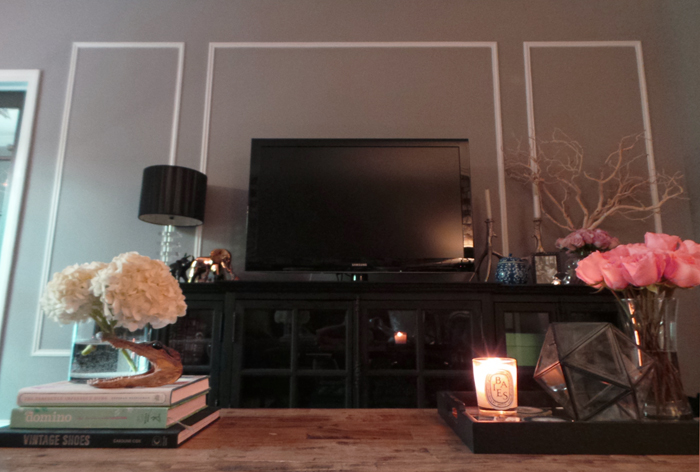 Our new media console was a true investment piece. It is humongous and did not fit in our elevator, and two very kind delivery men carried it up to our 4th floor apartment. Needless to say, it is staying put for a while! It stylishly houses electronics, favorite books, board games, and sentimental objects.
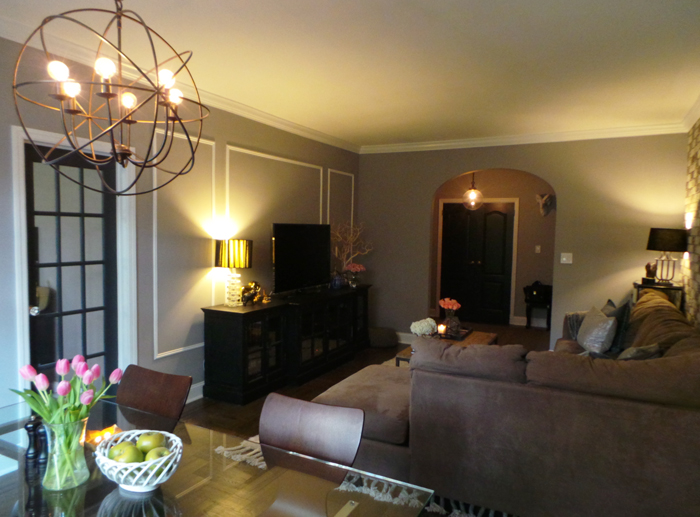 The sectional subtly separates the living and dining areas while allowing both to remain open and inviting.
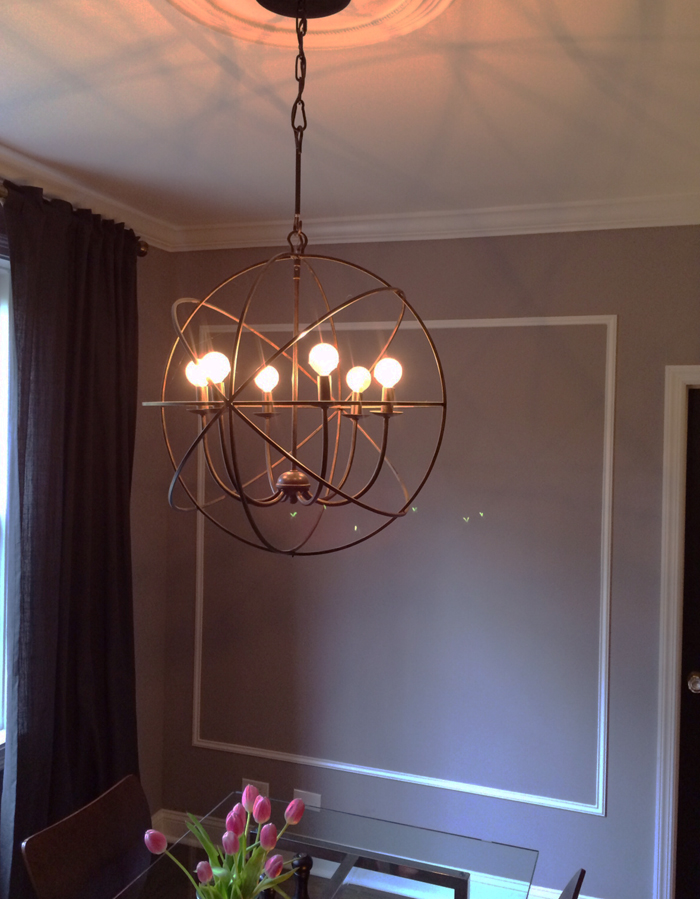 Lighting is a vital part of setting the mood for any occasion. We installed this orb chandelier in order to illuminate the room and define the dining area as a separate space. I love the way the openwork iron sphere plays off the rustic feel of our brick wall while the sparkling inner chandelier provides a nice dose of glam. It casts the coolest shadows on the walls.
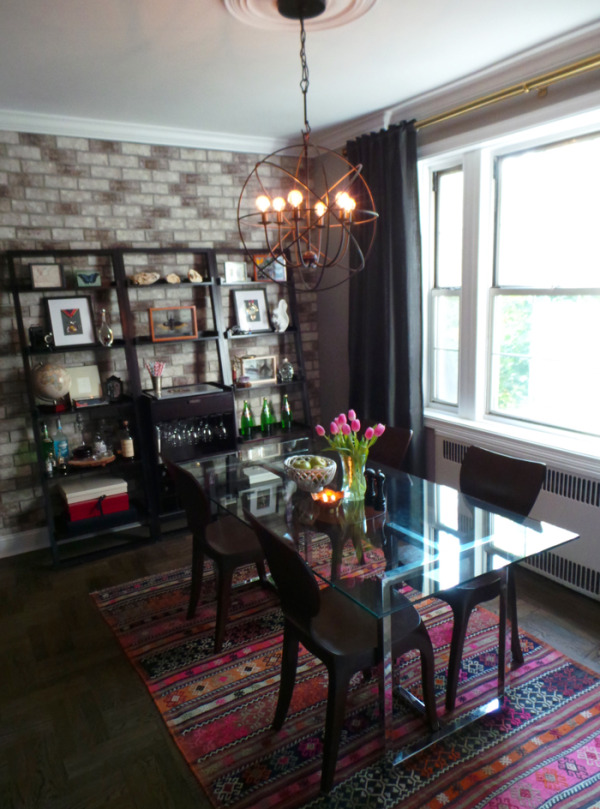 A bar conveys good old-fashioned hospitality. It readily offers refreshments and also doubles up as an additional surface to serve food and hold extra dinnerware.
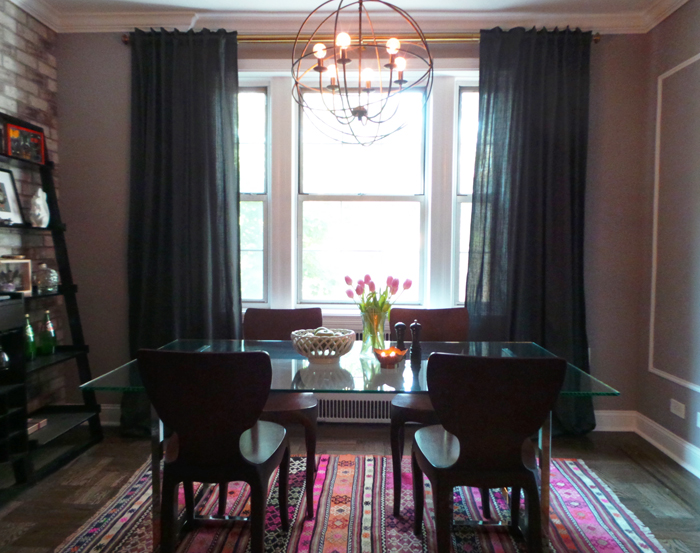 An antique Turkish kilim rug accentuates the dining area. This fun unexpected pop of pink shakes up our overall neutral palette, and its pattern is busy enough to forgive food stains. Because life happens!
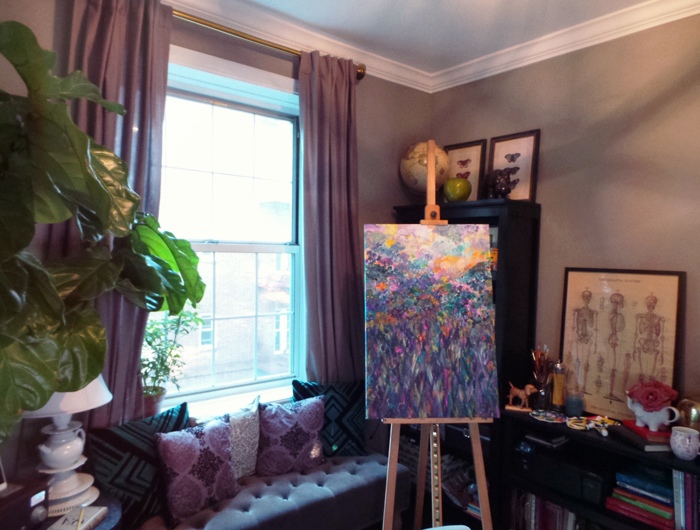
 I love the view from our living room window, especially around this time of year. Just look at those colors!
 With the holidays right around the corner, I am really looking forward to hosting some very special get-togethers with our loved ones! Hope to see you guys soon!

 10 Comments