Tuesday
Mar312015

Lattitude Adjustment

You guys. Spring is FINALLY here! I know I'm not the only one who is completely thrilled at the fact that our days will soon be filled with sunshine, fresh blooms, and cuter outfits :)

After a grueling winter, Chris and I were desperately overdue for some serious downtime. Luckily, we had randomly booked a group getaway during a dinner party several months ago. Best wine-fueled decision ever! We zipped down to Mexico and spent a week far away from all the chilly nonsense. It was a short but sweet escapade with some close friends, and soo good for my soul.

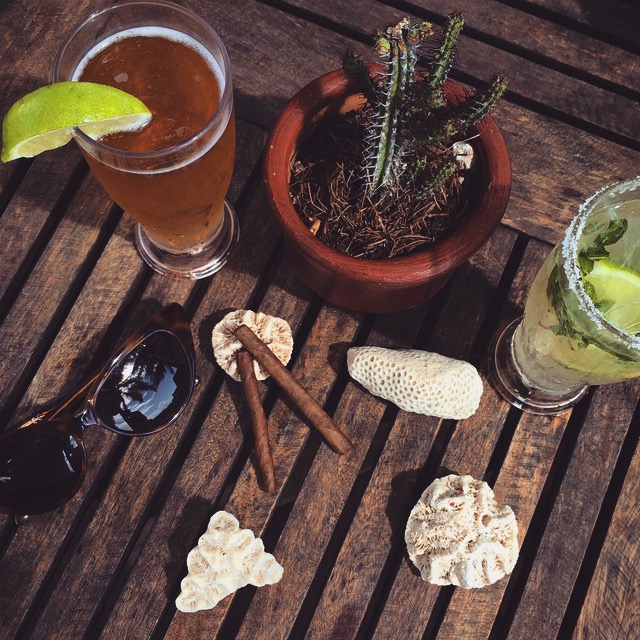
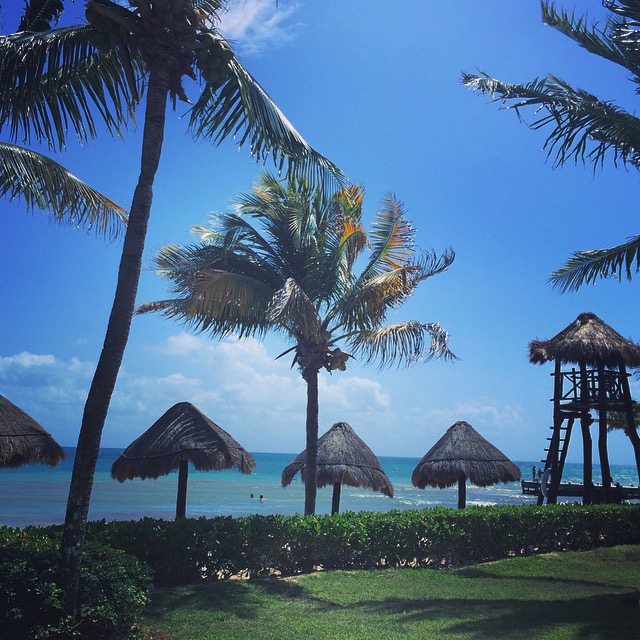
We stayed in an all-inclusive resort called Secrets Capri Riviera. The luxurious adults-only resort provided a quiet, relaxing atmosphere to thoroughly unwind. There were also plenty of organized events keep us active and entertained. And let's not forget about the FOOD. Delicious snacks and meals everywhere, all the time! I must've eaten my weight in ceviche and fish tacos. We did not have a single bad meal during our entire stay.


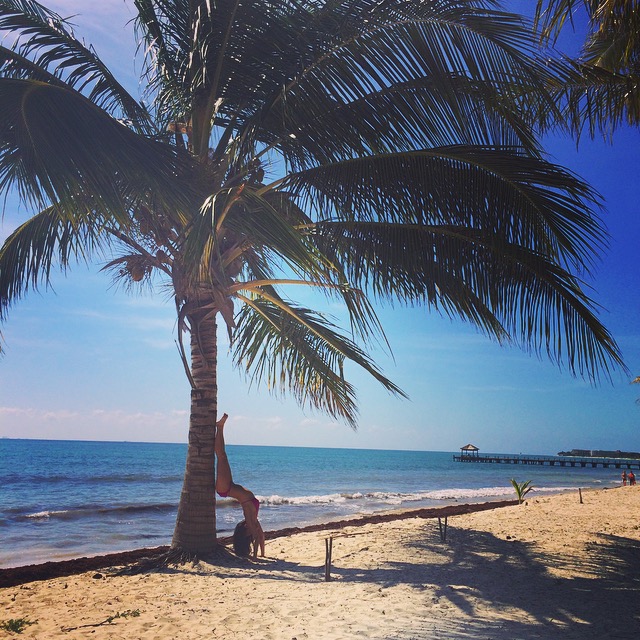
Our days began with a run on the beach for Chris, and some oceanside yoga for me. We spent a good amount of time just lounging around the pool, and I did my fair share of just doing absolutely nothing at all. Paddling over to the swim-up bar counts as exercise, right?

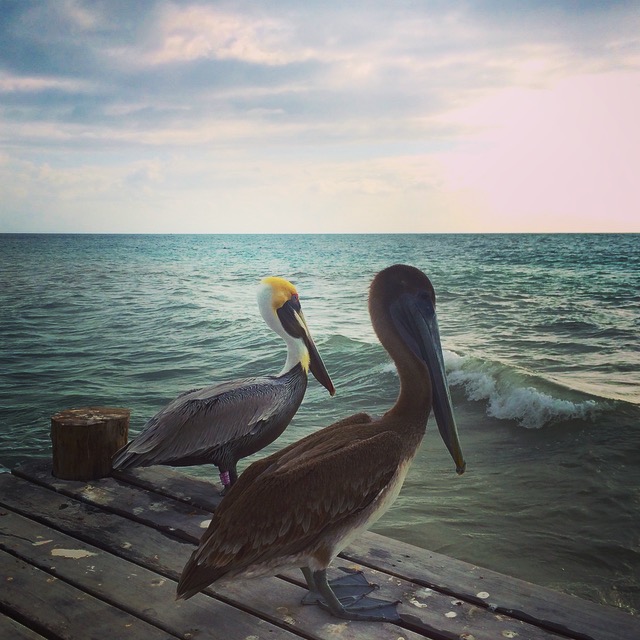
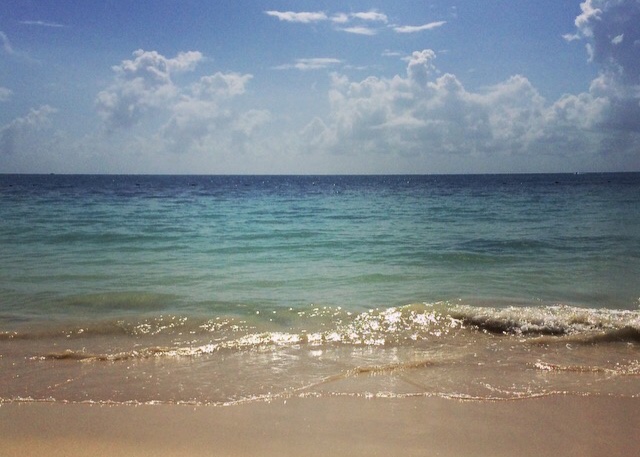
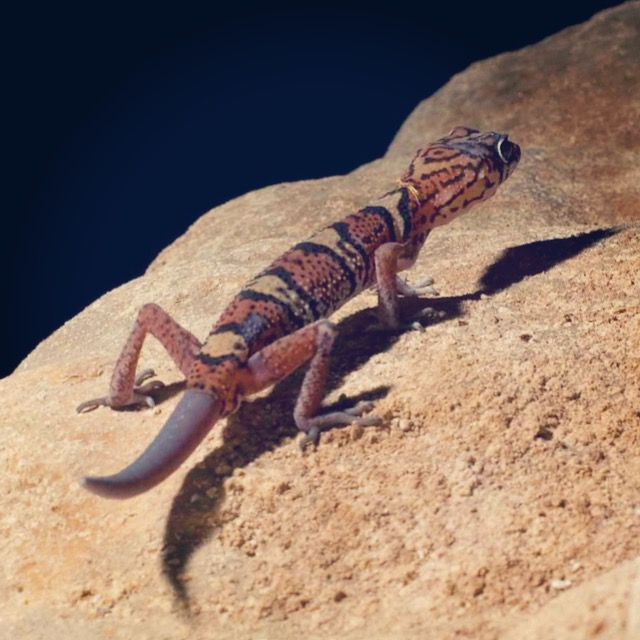
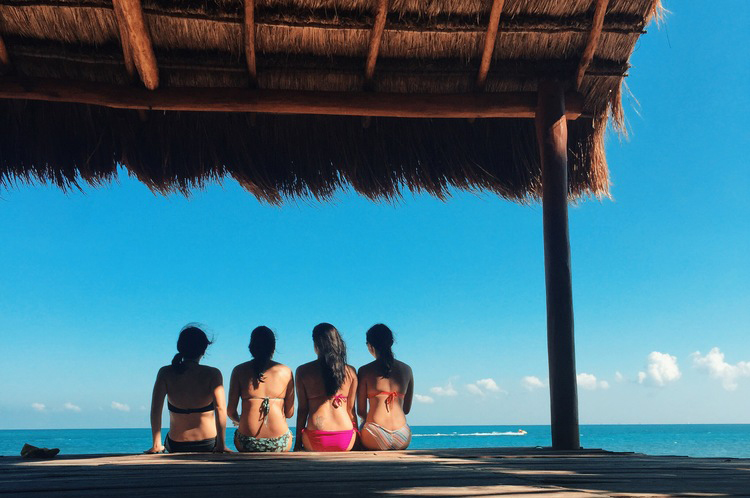
I also found some solid alone time for myself where I could just sit by the water and reflect on what's been going on in life. There is something about spending time with the ocean that restores me with a profound sense of peace, joy, and inspiration. Oh, and I got to hang out with some pelicans, which was pretty neat :)


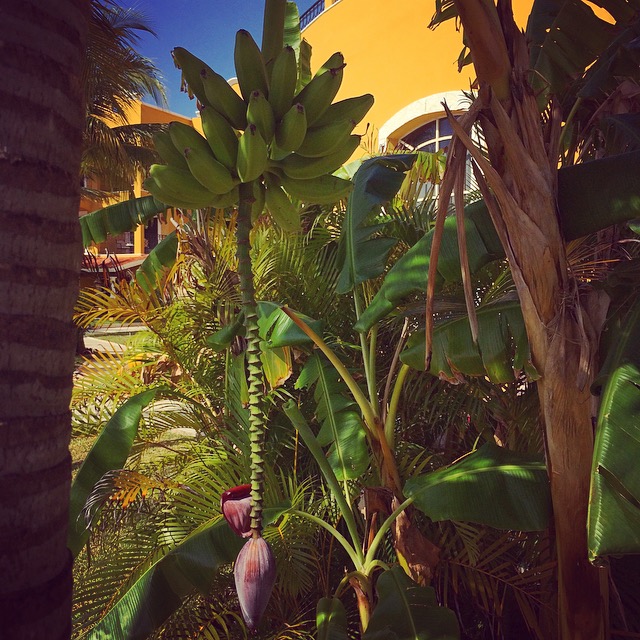
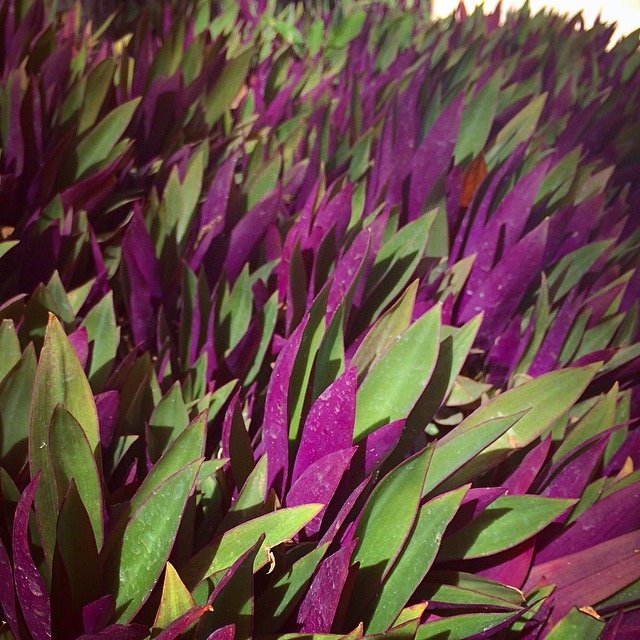
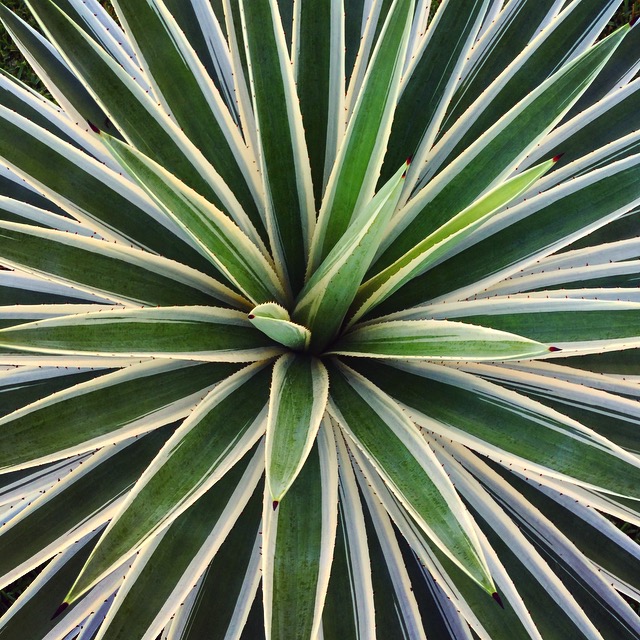
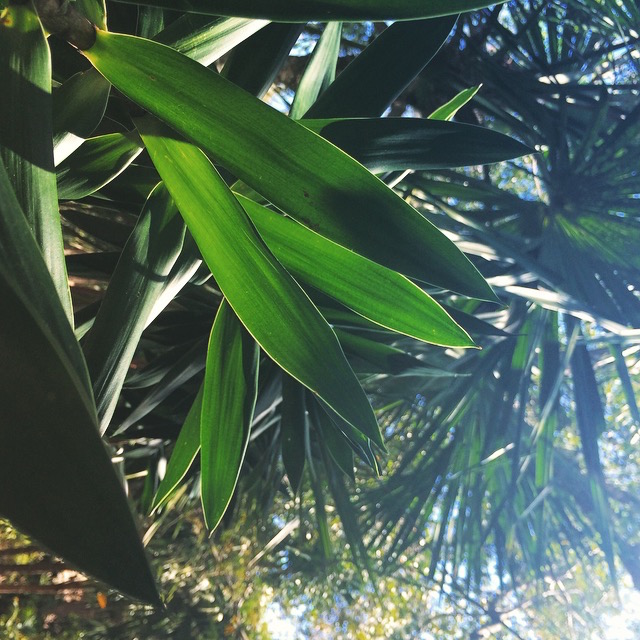
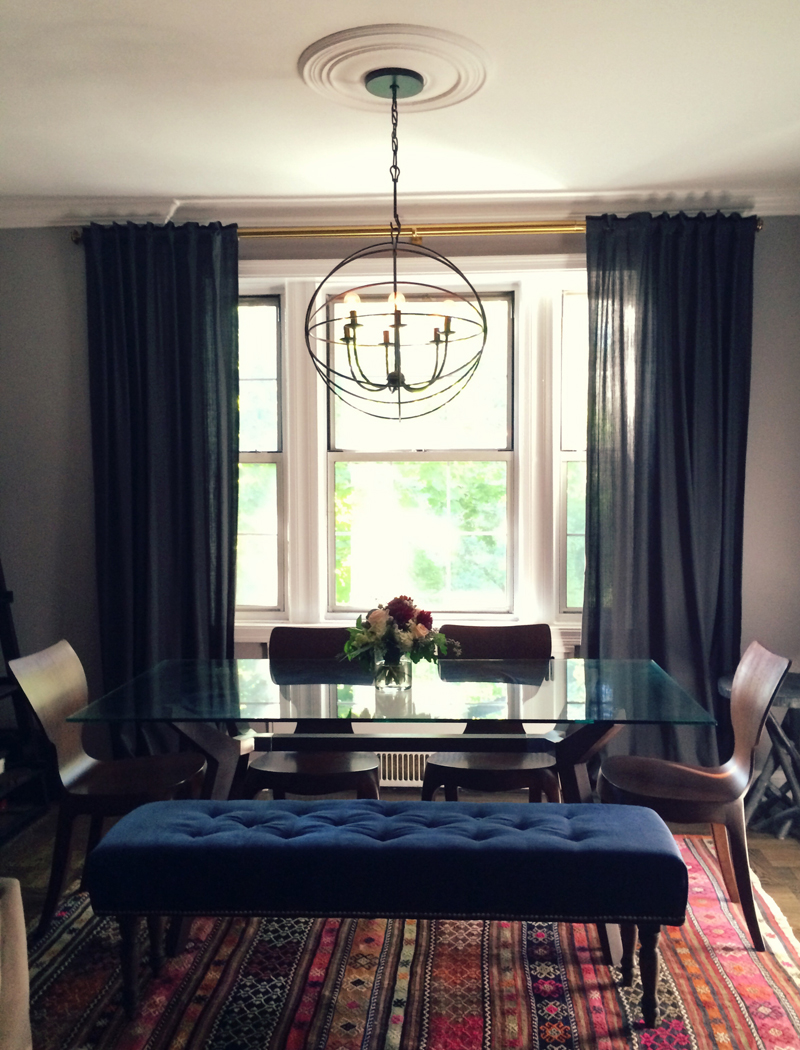
By the way, I am totally having a mini love affair with tropical plants at the moment. Their rich colors and lush textures were such a sight for sore eyes in the middle of such a crappy winter. I am definitely going to find some similar greens to bring into our home.

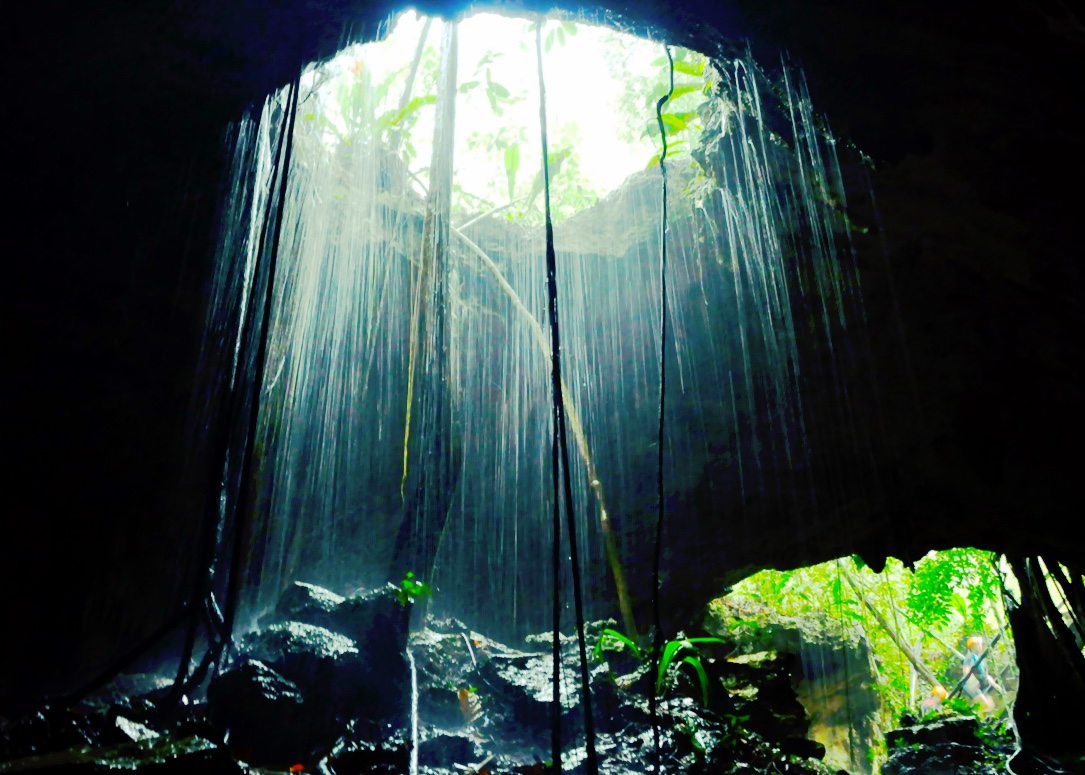
A huge highlight was the excursion we booked to visit an underground cave. Rio Secreto is a natural reserve located in Playa del Carmen. We had to take a long, bumpy ride through a desolate jungle to reach the sunken cave entrance of Ox Bel Ha, but the beauty we found inside was simply astounding. Here are some of my favorite shots from Emilio, our tour photographer!


We had to be careful not to disturb the delicate balance of the natural cenote sanctuary. This meant thoroughly washing all products off our bodies (makeup, lotions, hair gel, insect repellent) prior to entering the reserve.

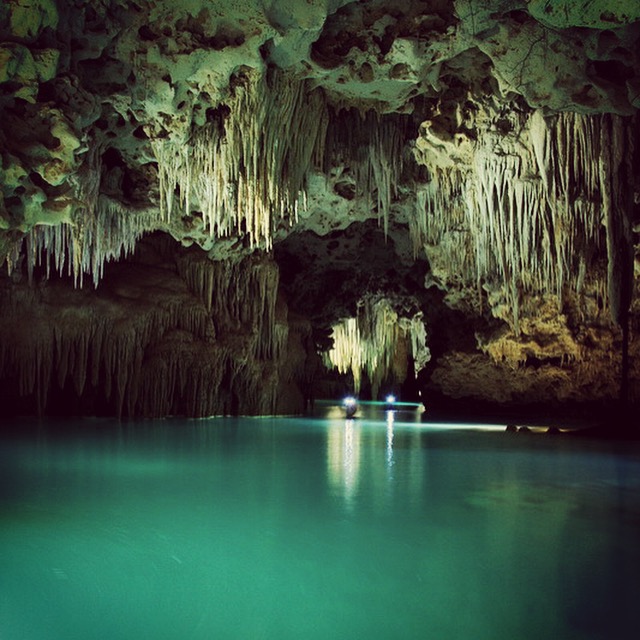
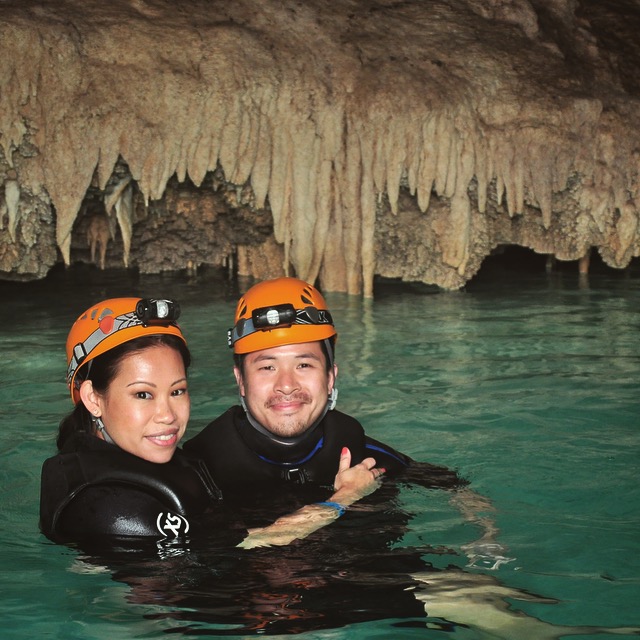
Ox Bel Ha is the seventh longest cave in the world. It is about 112 miles long and over 98 feet deep. We hiked and swam through each cavern, being extra careful not to touch and disrupt the fragile limestone formations that surrounded us. Our wetsuits kept us buoyant and warm in the crystal-clear underground rivers. Neoprene is so hot this season.

Once we reached the main labyrinth of the cave, we turned off all our headlamps and spent an entire minute in complete darkness and silence. All I could hear was an occasional drop of water, and my own heartbeat. The experience was out of this world.

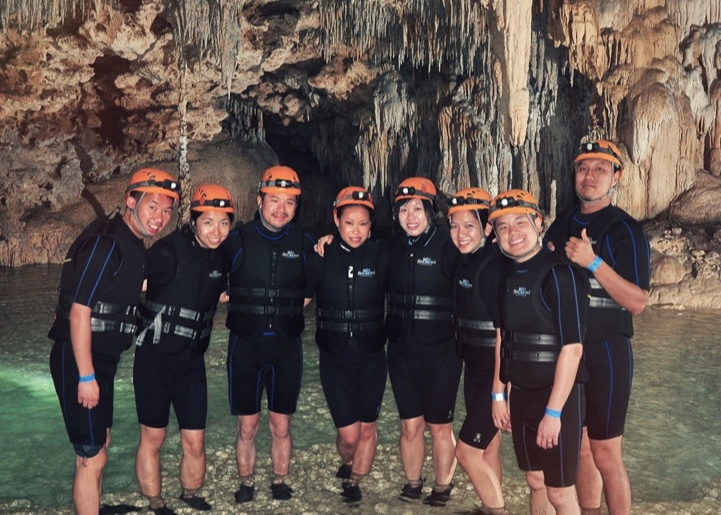
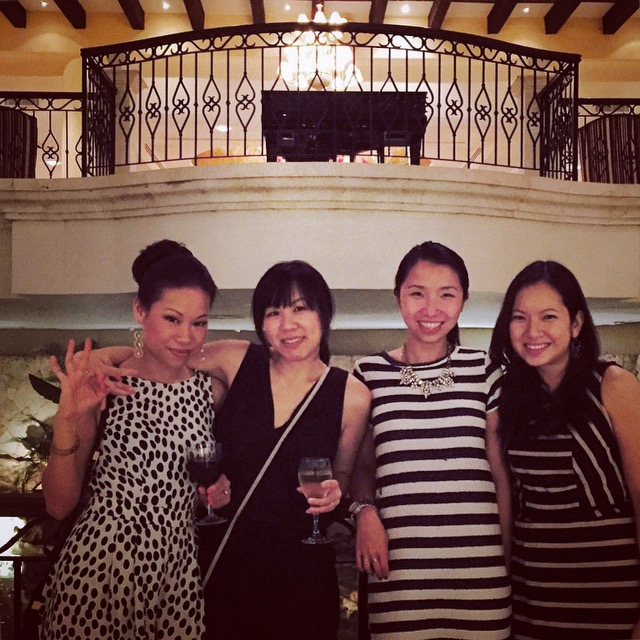
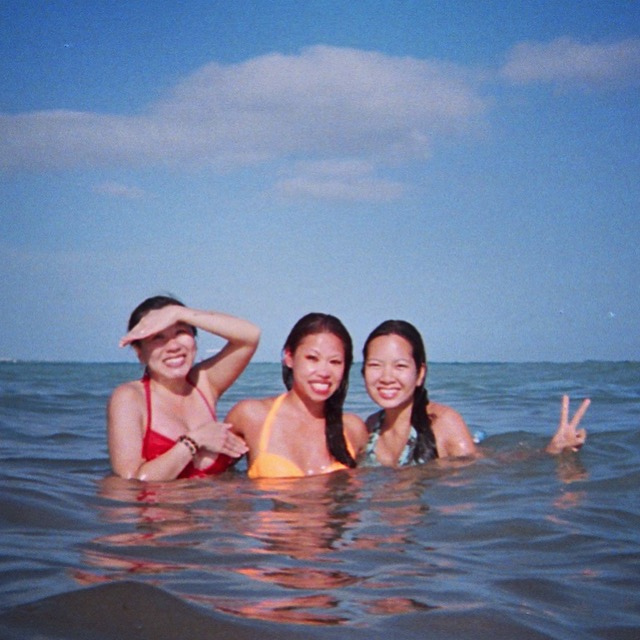
Still, the best part of this trip was the people we shared it with. I felt truly blessed to be able to savor moments of laughter, heart-to-heart conversations, and breathtaking adventures with such special, loving friends. I have officially snapped out of my funk. There are so many good things coming our way! More later :)


{Photo credit LittleBunnyNomi}

Thursday
Jan012015

Happy 2015!

2014 was a doozy. When I think back on everything that happened in the past year, my heart starts to pound. 

I started 2014 with a very long and ambitious list of goals in my hands, and I pushed myself. Hard.

At first, it felt extremely gratifying to tick items off my list. Ideas became reality, doors opened, I got to explore new places, and had the pleasure of meeting some truly incredible people. Then suddenly, it felt like everything started snowballing and happening at once. I was tackling projects left and right, day and night. I had never felt so stressed, anxious, and completely overwhelmed in my life. (Sounds kinda ridiculous coming from someone who just became a yoga teacher. The irony is not lost on me.)

Thankfully, it all worked out in the end. A spectacular abundance came out of the hard work, but I know it wasn't all my doing. You see, the problem wasn't the list itself. The issue was that perfectionist/control freak voice in my ear, whispering incessantly that I need to get everything done, and do everything right, right now. Flawlessly. Or else.

It is time to stop answering to that impossible demon.

No list for 2015, just one simple intention: Freedom. My wish is to live in a way that allows me to try, fail, and accomplish without limits. To be kinder to myself. To just live with joy and purpose. And above all, to trust that God is perfectly in control.

I'm looking forward to this one, and I hope you are too. Happy new year! :)

Monday
Oct132014

Tuft Love

The fact that we are halfway through October is majorly blowing my mind. Between juggling long workdays, joining a new church community (hooray!), training to become a certified yoga instructor, working freelance projects, and planning a baby shower (for TWINS!!)... I've hardly slept this past month. Thank goodness for coffee, vitamins, and juicing. And wine.

One thing I've learned is that no matter how insanely packed your life becomes, you must always make time for the people and things you love. That's what gets me out of bed and keeps me going every day.

Chris and I frequently host gatherings around this time of year, which is one of my favorite ways to enjoy our place. While we have plenty of room to accommodate guests in our living space, I recently found myself searching for additional seating solutions in our dining area. Rather than expanding the existing set of chairs, I thought it would be fun to shake things up by adding a dining bench into the mix. And while we're at it, why not try making it myself? After all, there is always time for a little DIY in my life :) 

I kicked this project off by hitting up a few fantastic resources for all the necessary materials. The clerk at Mood asked what I had in mind for the 2.5 yards of delicious navy velvet he was cutting for me. When I showed him my dining bench plans, he pointed me to a wonderful upholstery supply store located nearby. I quickly made my way down to the West Village. 

Economy Foam & Futons turned out to be a one-stop destination for all my upholstery needs! Everyone was super helpful - I waltzed out with a custom-cut foam pad and a roll of dracon batting tucked under my arm in less than 10 minutes.

Next stop, Home Depot! The HD right down the street from us is like my second home. I'm down there all the time, hanging out and causing trouble. The friendly staff is always happy to cut lumber down to the specific measurements I need for various projects. How handy is that? 

Once I had all my materials wrangled together, it was time to dive right in and build out a bench frame. *TIP* No need for exact precision here, but it is important to make sure all the beams are securely fastened together. Don't forget to wear goggles while drilling. Safety first, people!

I then attached a 60"x15" board on top to complete the frame.

Once the top was secured, I measured out placements for the tufting buttons. Since I stink horrendously at math, this took a few extra tries to get everything just right :P

After marking out 14 buttonhole placements, I drilled through the board at each designated cross hair.

Next, I sprayed the board with an even layer of adhesive, and laid the foam cushion down, pressing gently to create a smooth bond with the base.

Time to begin upholstering! I started by covering the foam and frame with a layer of bonded dracon. *TIP* It's important to keep pulling the batting nice and tight as you staple it down. This establishes a smooth foundation for your top fabric. In order to achieve clean, tailored corners, pull the dracon up to form a 45-degree angle with the edge of the frame.

Staple down to the frame...

Pull the end straight up, and staple down over the side fold. Trim off all excess material.

Once the dracon was in place, I repeated the same steps with my velvet fabric, leaving a little more give in this layer for tufting. Here's a nice little trick I learned years ago while making beds in nursing school: Run a straight edge along the crease to create a crisp, clean hospital corner!

Now the fun tufting part begins! I used a button pressing kit to create matching velvet-covered buttons. These were a cinch to make, and I had a pile of beautiful buttons in under half an hour! #productivelunchbreak

To create a tuft: Thread your needle with about three arms' length of extra-durable nylon upholstery thread, folded into thirds. Starting from the underside of the bench, push the needle straight up and through until it comes out on top of the cushion. Loop the needle/thread through a button, then push the needle back into the foam to the underside of the bench.

Once your needle makes it back to the underside (sometimes it takes a little poking around), grab both ends of the thread and pull until you get a nice tuft in your cushion. When you achieve the desired tuft depth, tie a secure knot around a wad of fabric. This bolts the thread into place while providing a little buffer for the thread tension. Professional upholsterers utilize muslin, I used some extra cotton scraps I had laying around.
*TIP* Grab a helper to push the button down and hold the tuft in place while you pull and tie the strings on the underside. This ensures smooth, efficient, and even tufting. Shout out to my favorite assistant, Chris, for lending a hand with this step. He's a seasoned pro at pushing my buttons. <3

And there's the first tuft!

Wonka was convinced that this was a new play box for him, and refused to climb out all afternoon.

Turned rubberwood legs were stained to match our dark walnut dining table and chairs. This provides a touch of consistency and helps pull the mismatched pieces together for a cohesive look. 

I would be so upset mortified if anyone were to ever bust their ass on a piece of furniture I made. Multiple galvanized steel joints were employed to attach and reinforce every single leg. Those suckers aren't going anywhere.

For a little extra oomph, I applied a border of nailhead trim along the base of the bench. I am a huuuggee sucker for nailhead detailing. It's simple and timeless, yet adds a ton of glam and personality to a piece of furniture.

Trim application is easy - simply tap a nail in along every 5th stud. Much easier than hammering in 23475 individual nails, right? *TIP* Be sure to keep your line straight and parallel to the edge of the base, tapping gently with a nylon-tipped hammer so that you do not damage the metal finish on the tacks.

And voilà. All done! :) I am loving the way this happy mix jives with the kilim rug and prevents our dining space from feeling too formal.

The tufted velvet exudes an elegant vibe while its dashing navy hue injects a handsome dose of color.

Looking forward to sharing good times with some of you very soon! More later :)